General Information
General Notes
There are some things you should know...
- The included RouterStation firmware has everything working but just make sure you give it plenty of time after the flash for it to create the jffs2 filesystem and get PyCI and l2sh started up (the first time Python runs it has to compile a lot of .pyc files). I’d say it takes 2 full minutes after the flash is complete before it is ready to go.
- To save time I copied & pasted a LOT of code. The result of this is that the built code base of PyCI is about 2x larger than it will (eventually) be. The PyCI ipk is 764k but after some work, combining (extremely) similar functions should cut that in half. It shouldn’t matter that much on a RouterStation though since there’s plenty of free space even with PyCI, the dependencies, and all the contest required software.
- Also to save time I didn’t spend a lot of time on CPU/memory optimizations. PyCI runs pretty snappy on a RouterStation as it is but I know I can make it MUCH faster with a MUCH smaller memory footprint. I’ve already done the preliminary work on porting PyCI to circuits.web (the hard metaprogramming parts are done) and this should result in a 2-4x cut in the amount of memory usage and make it a bit snappier at the same time.
- I didn’t have enough time to fill out all the help texts. There’s complete help for the most things but some sections still need a lot of copying and pasting (Quagga, specifically). Trivial work but non-trivial time consumption.
- Regarding the Network->Interfaces page: I know it loads slowly and I know why it loads slowly... The interface status box needs to be moved to a separate AJAX call that loads after everything else (requires a few hours of refactoring). It worked__slowly, yes__but it worked so I put it aside as something to fix later.
- On the Speed Test page there’s a link to download the command line version of the speed test client. Obviously, this requires that Python be installed. The GUI version of the speed test client is in the source directory. It can be compiled (‘frozen’, really) for Windows but I don’t have a Windows machine readily available to do that.
- Regarding the speed test client GUI: When the project is public I’ll put links to download the various versions (Linux, Windows, Mac OS X) from a public mirror on the Speed Test page (the statically-compiled versions are too big to include in the built version of PyCI).
- The French translation is incomplete and was created using Google Translate anyway. Don’t put it in front of a native French speaker and say, “Isn’t this great?” hehe. The important part is that the functionality is there.
Firmware Build Notes
To build my OpenWRT firmware you need to perform the following:
- Link the pyOpenSSL opkg: Required if you want to run PyCI in SSL mode. Note: This is not the same as the ‘python-openssl’ package. I’ve included a ‘pyOpenSSL-0.9-opkg’ directory in the source dir but to use it you’ll have to make a link from the openwrt trunk/package directory to that directory. It will auto-download the source just like any other OpenWRT package.
- Link l2sh: In the source dir there’s an l2sh directory. In that directory is l2sh itself and an opkg directory containing a Makefile and a hard-link to l2sh.py. Just like pyOpenSSL you’ll need to put a symbolic link in the OpenWRT trunk/package directory to that ‘opkg’ dir.
- Link PyCI: Just like the others, in the PyCI source directory there’s an opkg directory. Just put a link to it in the OpenWRT trunk/package directory.
- Make sure Python is version 2.6+: The OpenWRT svn version that Ubiquiti uses in it’s distributed source tree has Python 2.5. Make sure you update to a newer release to get Python 2.6 (you might be able to get away with just doing a “./scripts/feeds update”). In my firmware I used revision 17124 which seemed pretty stable in my testing.
- Copy my .config: My trunk/.config is in the source directory named, “pyci_firmware.config”.
PyCI Build Notes
To build an embedded/compressed version of PyCI using the build.sh script you have to change some variables at the top to point to the correct filepaths on your system. There’s a big TODO in there that says, “Port this to Python and use a Makefile” =). It requires the following be installed somewhere:
- yuicompressor.jar (and Java to run it) - http://developer.yahoo.com/yui/compressor/
- pybabel (for internationalization) - http://www.scripps.edu/~sanner/python/pybabel/index.html
Note: The build.sh script will automatically build the ipk using your openwrt source directory. It also updates the Packages.gz file with the latest md5sums and whatnot.
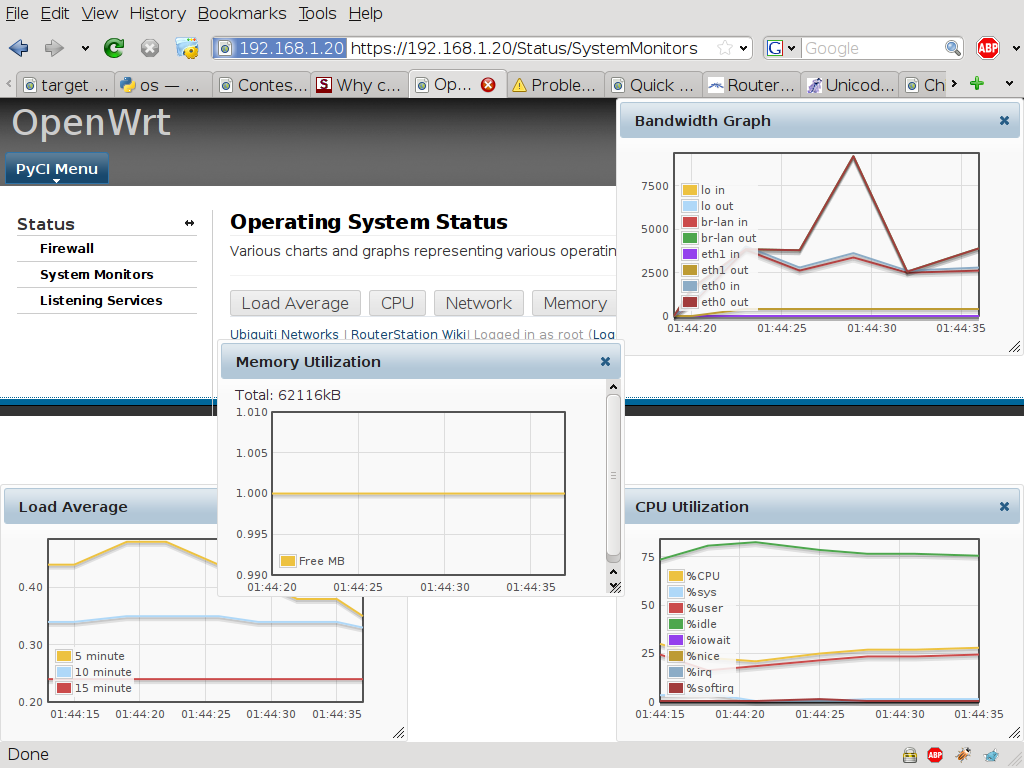
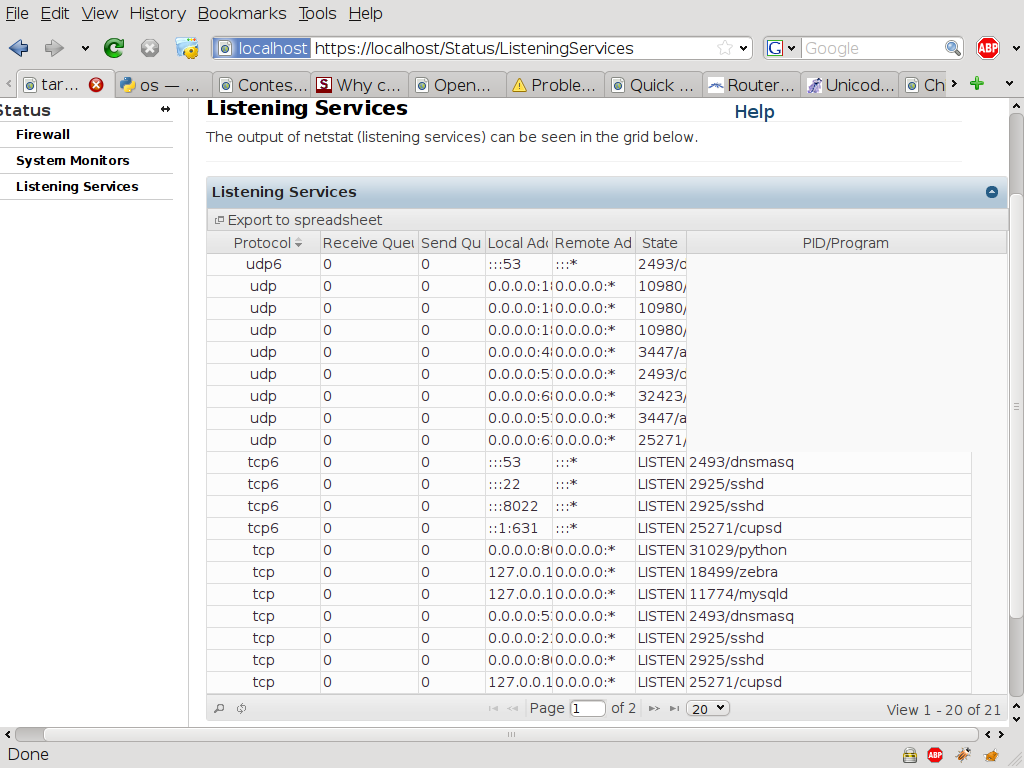
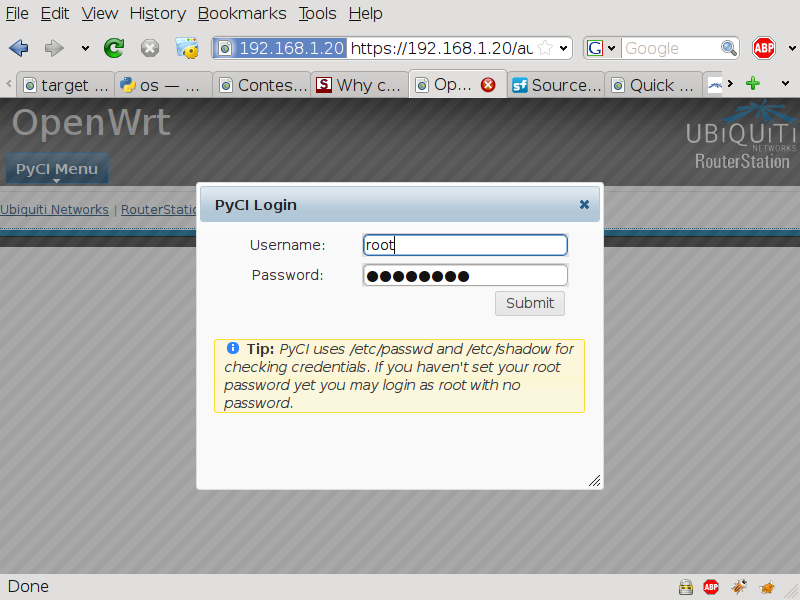
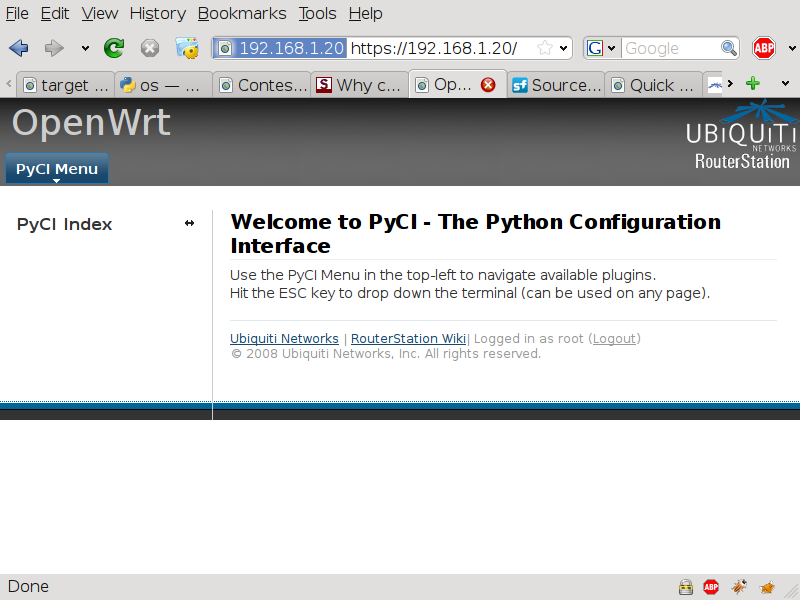
PyCI Screenshot Overview
Here’s the meat and potatoes. Note that all these screenshots were taken from PyCI running on an actual RouterStation.
I left out the “boring” stuff... Things like the raw text edit interfaces are all the same (for the most part).
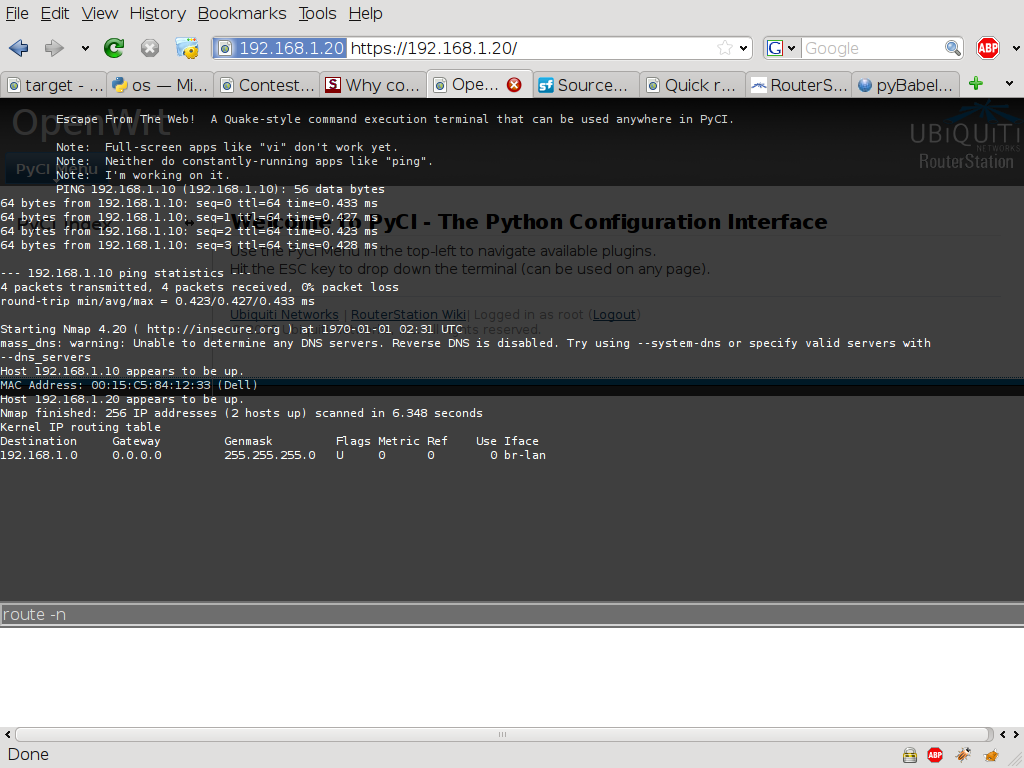
Escape From The Web
PyCI Escape From The Web Terminal:

PyCI Escape From The Web Terminal (after running some commands):
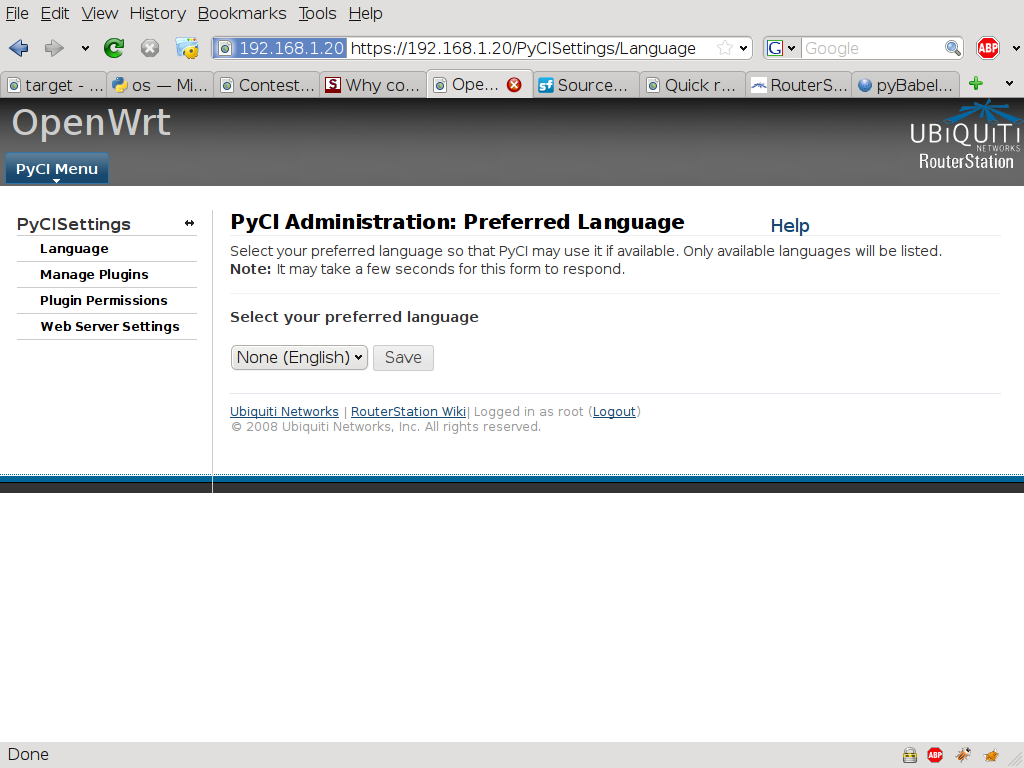
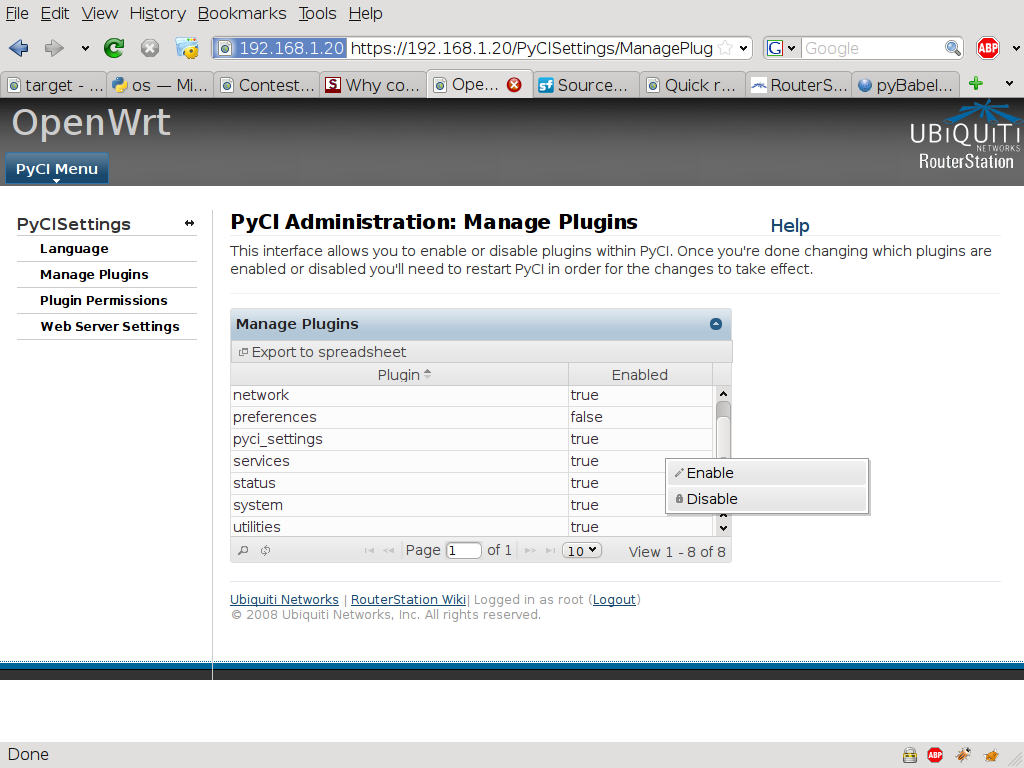
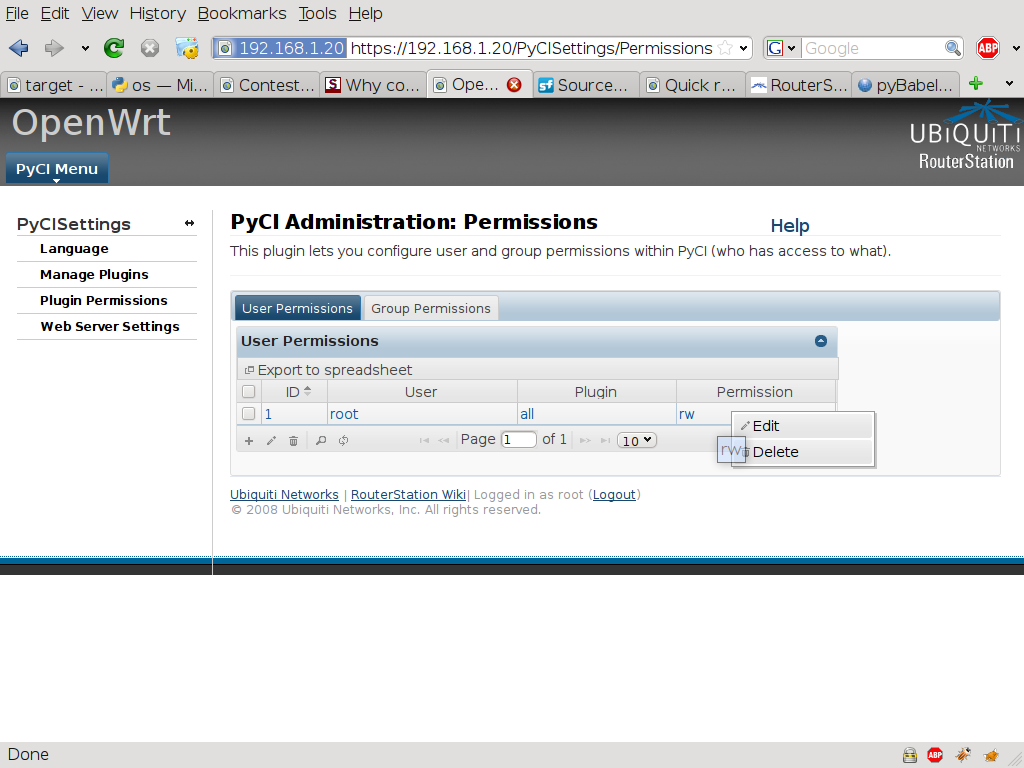
PyCI Settings
PyCI Language Configuration:
PyCI Manage Plugins Interface (with context menu):
PyCI Plugin Permissions Interface (with context menu):
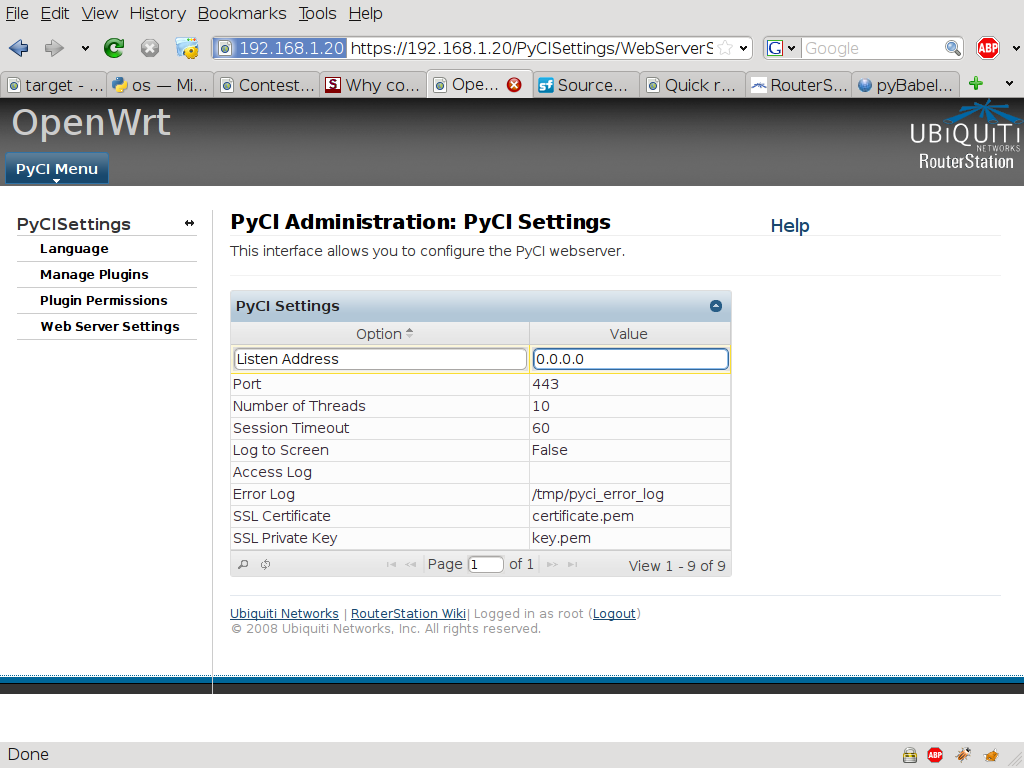
PyCI Web Server Configuration (showing inline editing): ______________________________________________________-
System Plugin
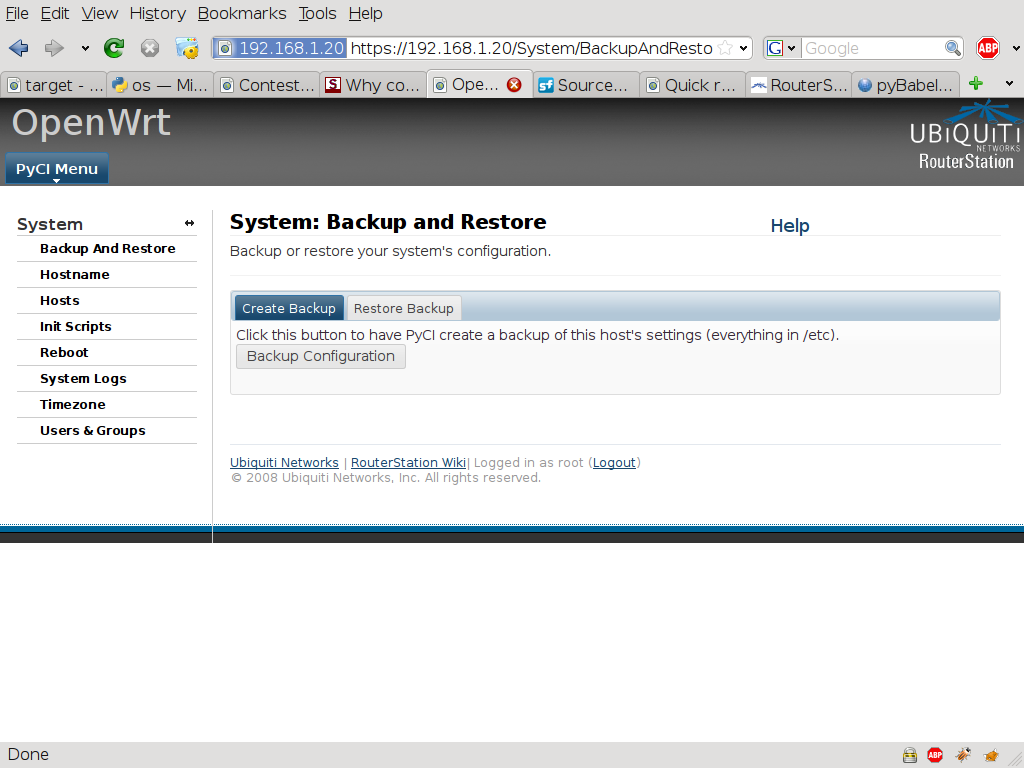
PyCI Backup/Restore Interface:
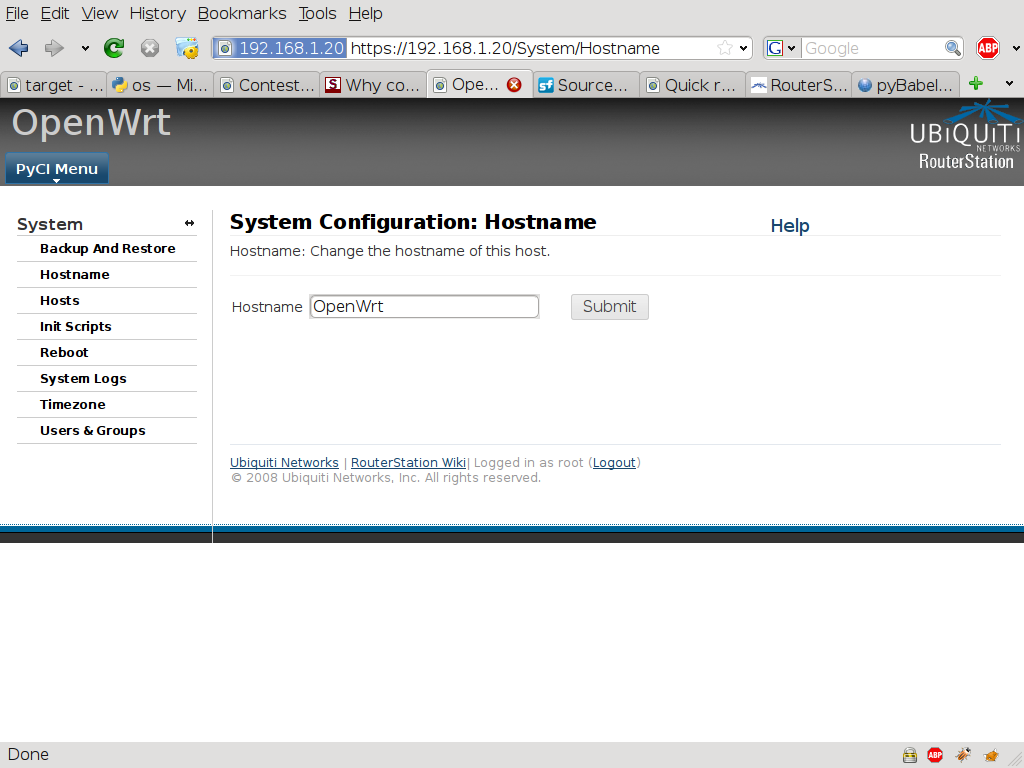
PyCI Set Hostname:
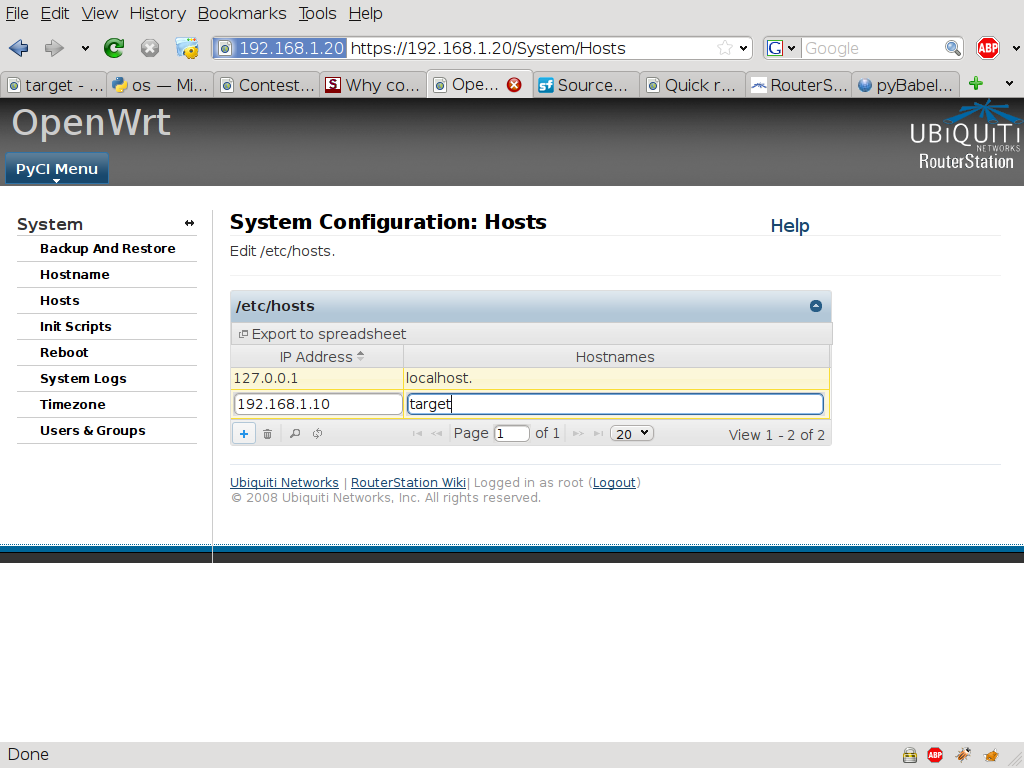
PyCI Hosts File Configuration:
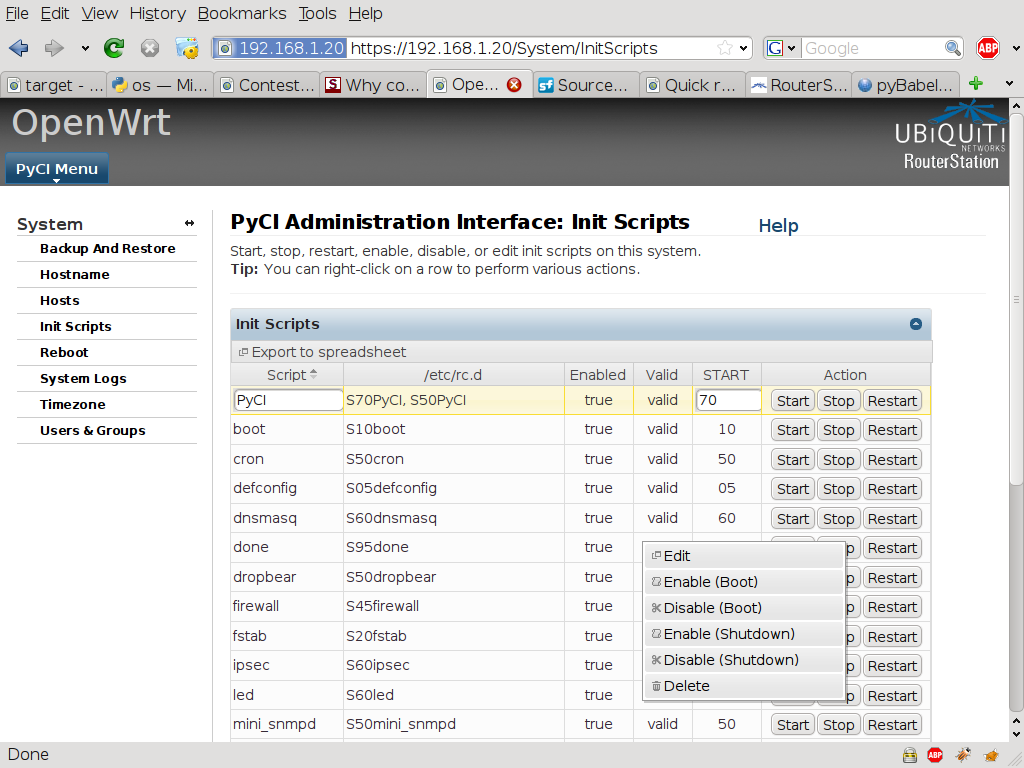
PyCI Init Script Control/Configuration (stop/start/restart, edit, enable/disable, and re-order):
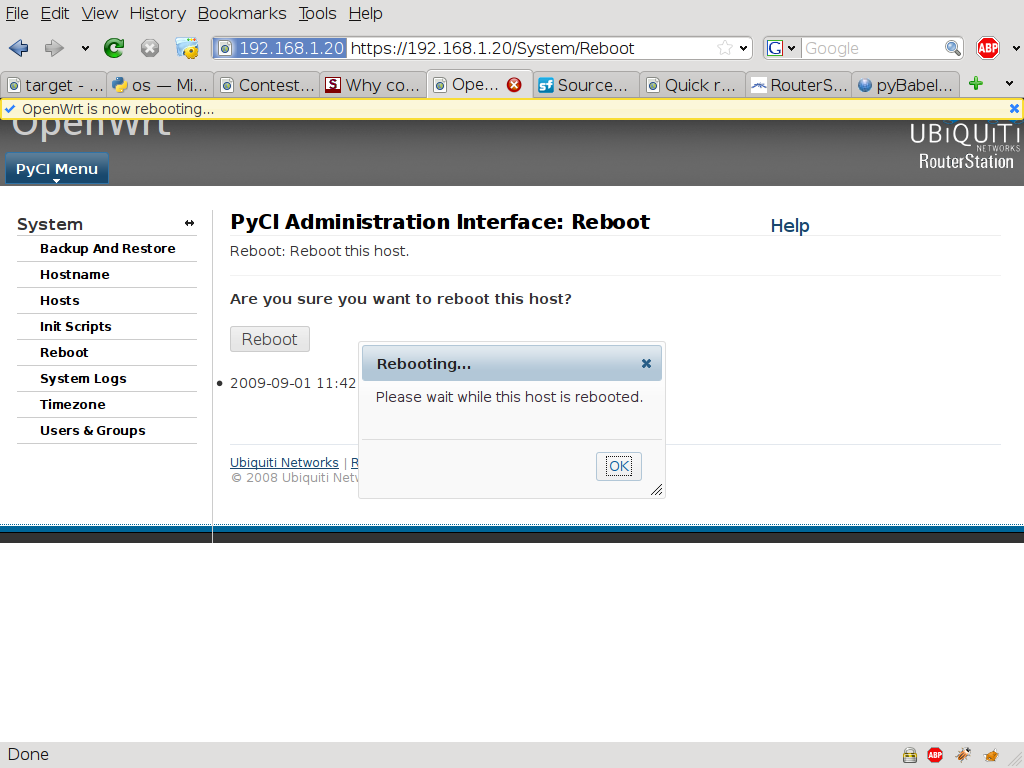
PyCI Reboot Interface (Initiate): ________________________________-
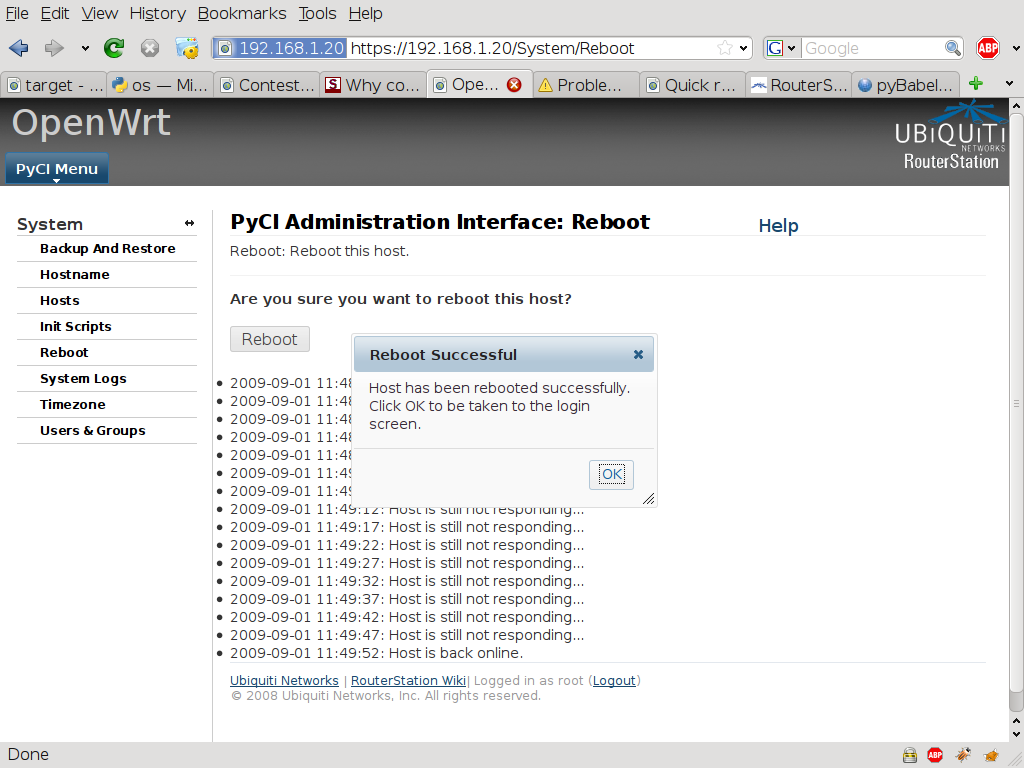
PyCI Reboot Interface (After Reboot): ____________________________________-
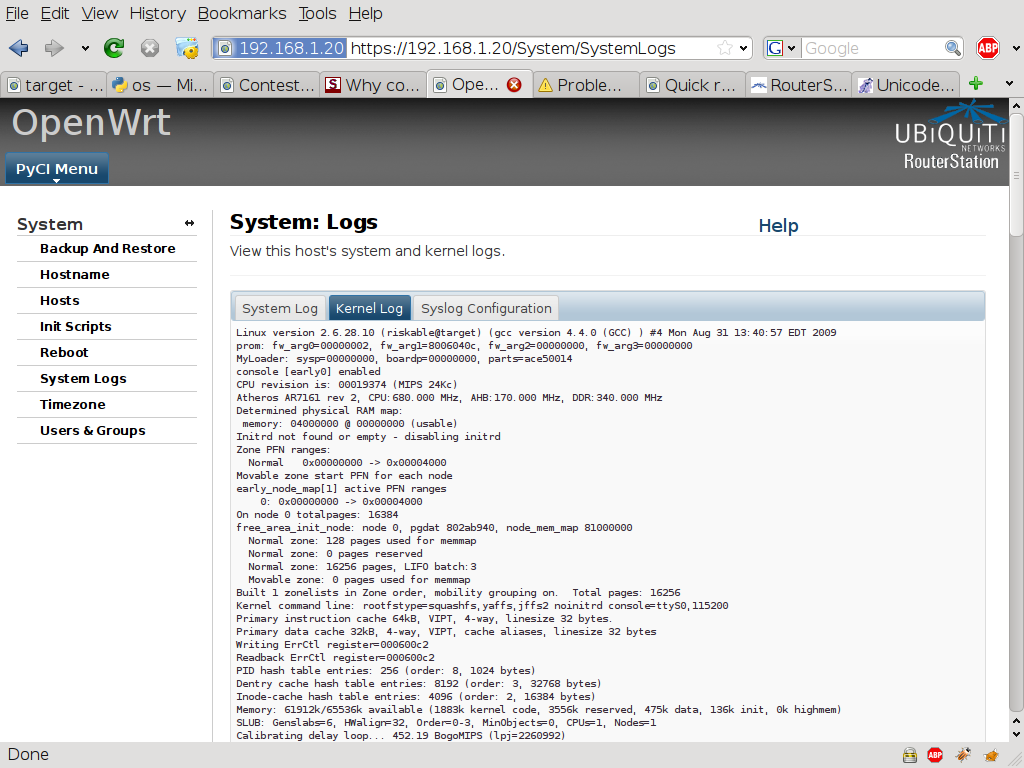
PyCI System Log Interface/Configuration:
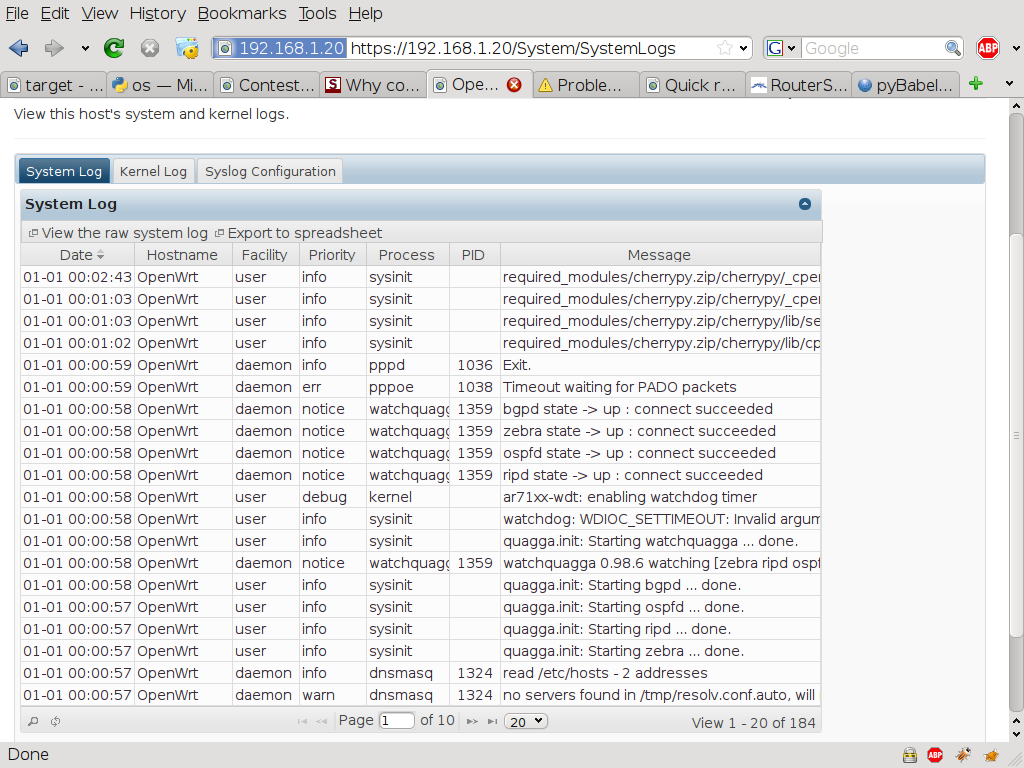
PyCI System Log Interface/Configuration:
PyCI System Log Interface/Configuration (showing form validation):

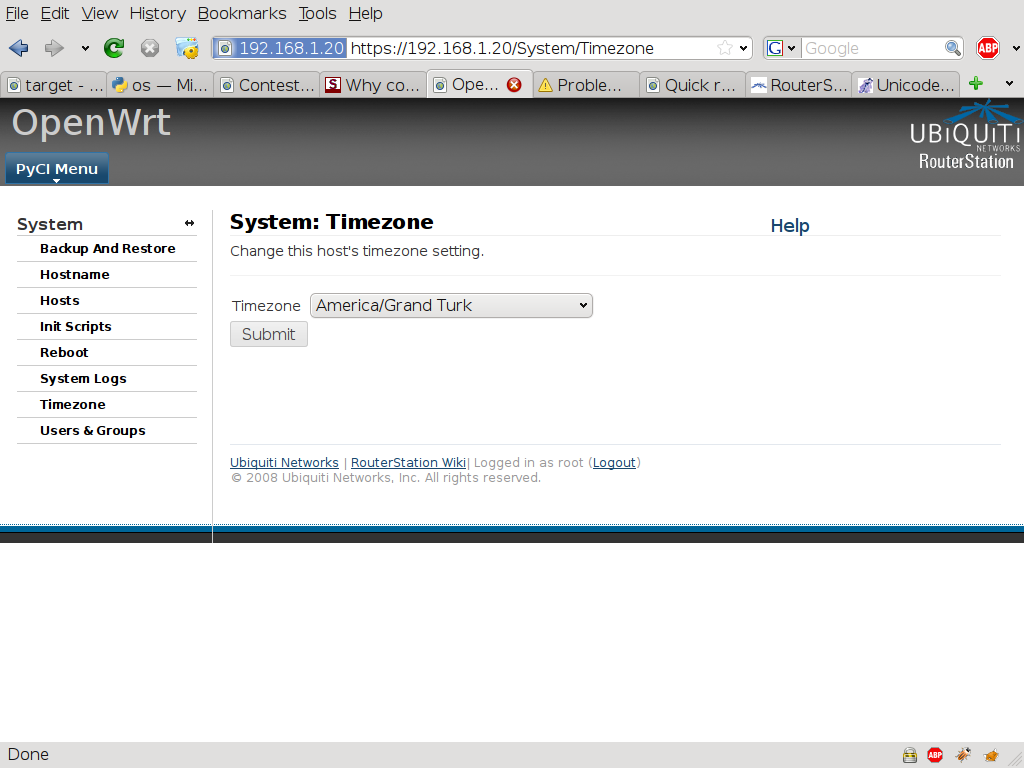
PyCI Timezone Interface:
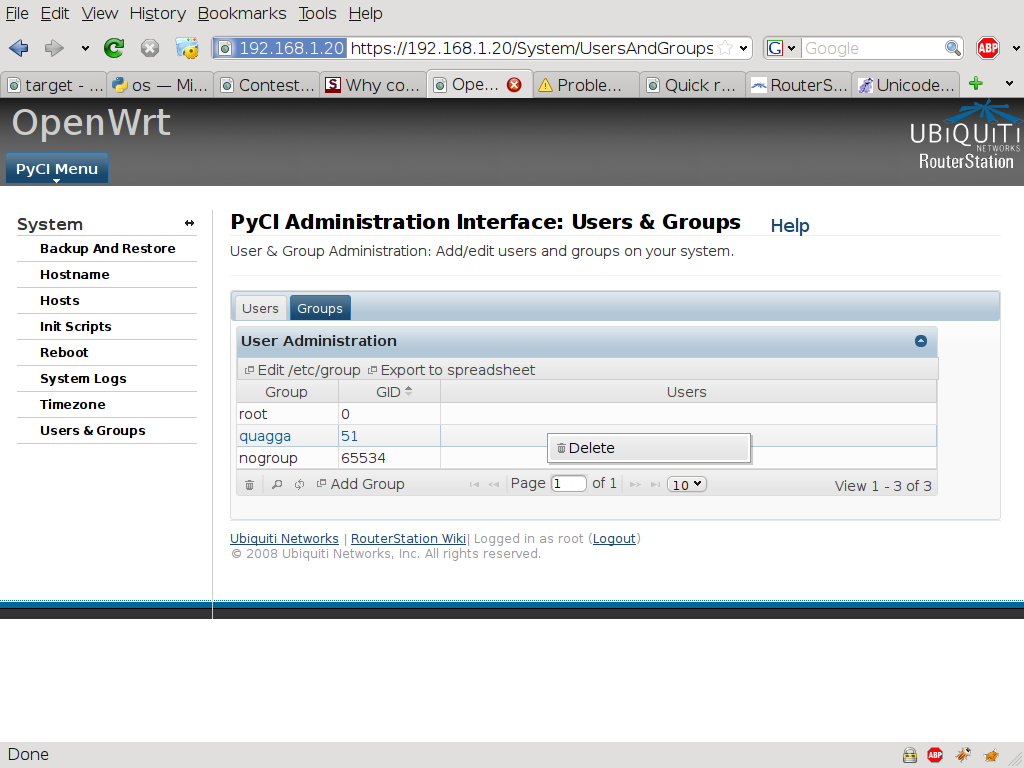
PyCI Users and Groups Interface (showing context menu):
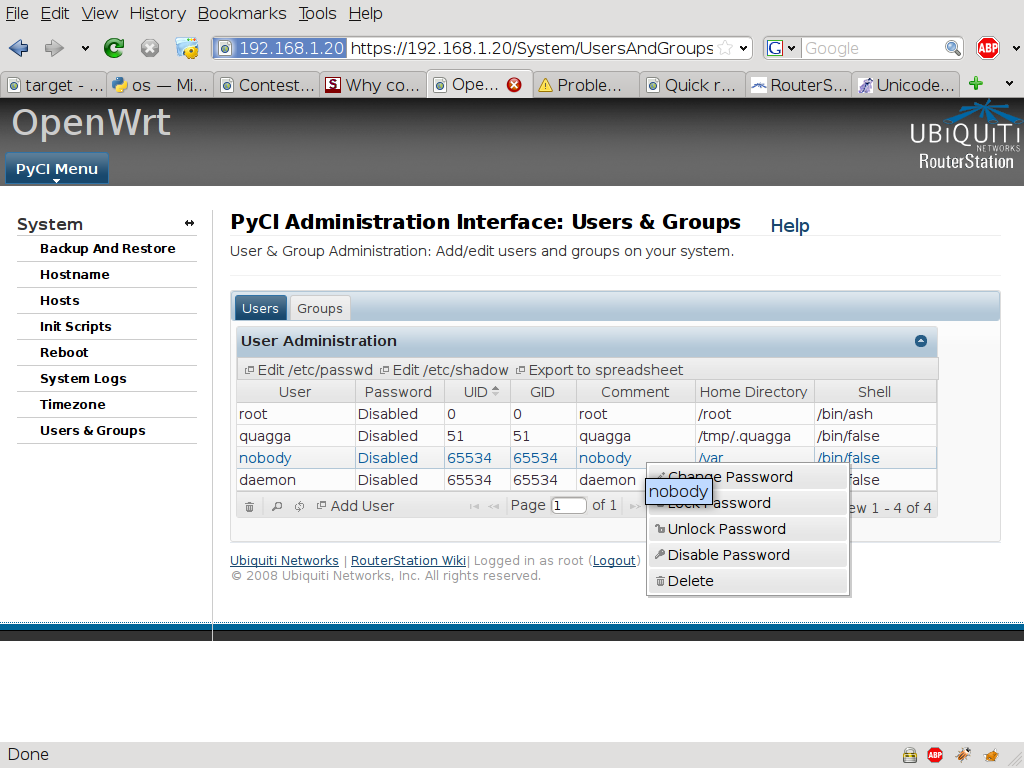
PyCI Users and Groups Interface (showing context menu):
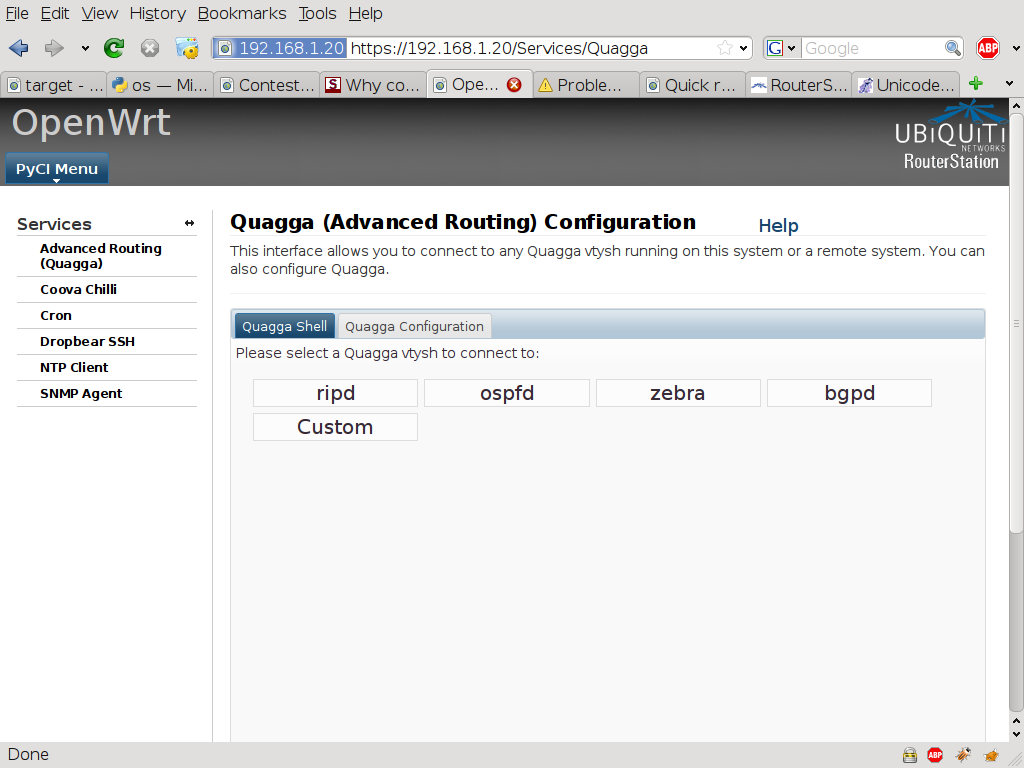
Services Plugin
PyCI Quagga Interface/Configuration(vty selection screen):
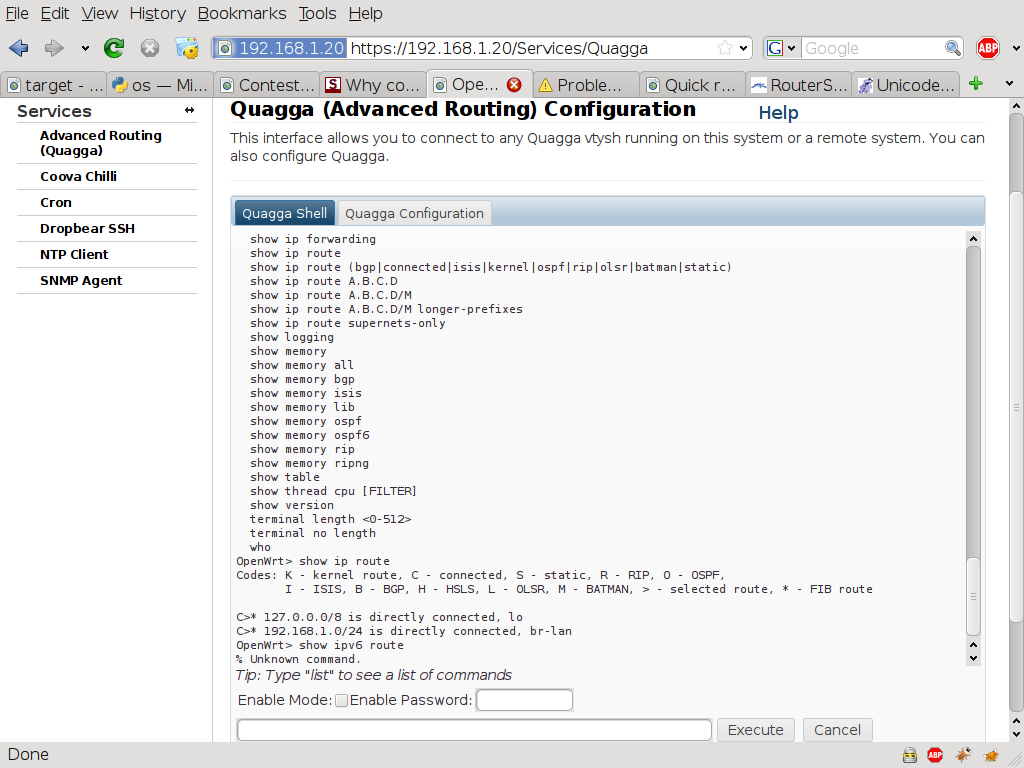
PyCI Quagga Interface/Configuration (logged into the zebra vty):
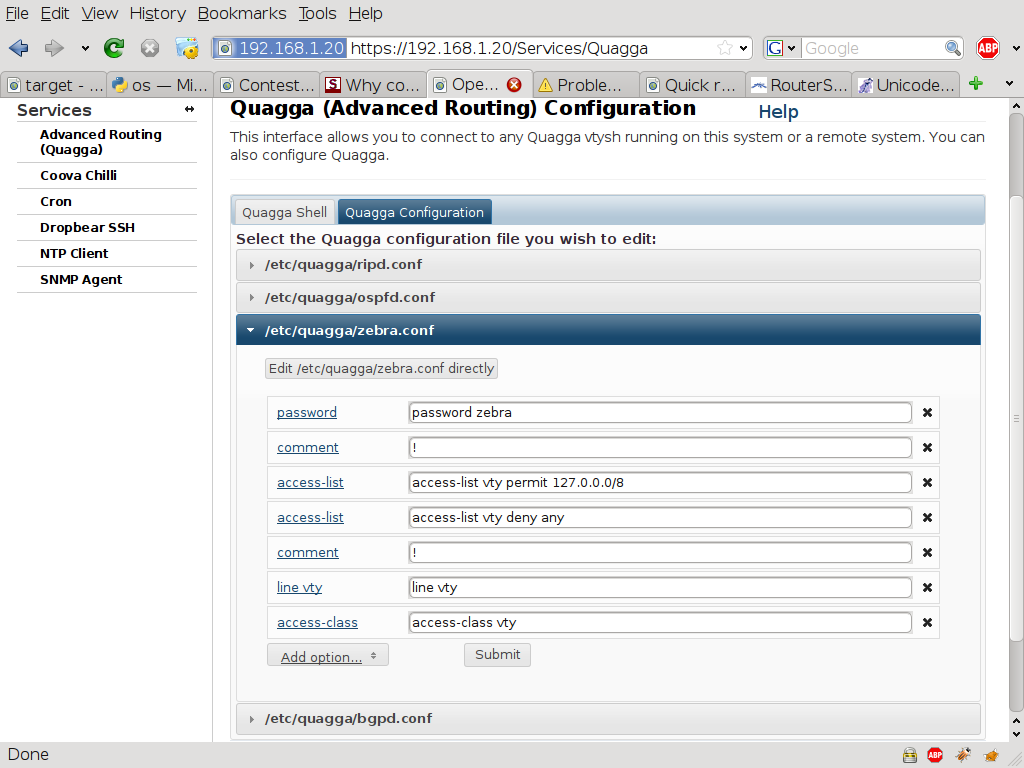
PyCI Quagga Configuration (those lines are drag n’ drop enabled): ________________________________________________________________-
PyCI Coova Chilli Interface/Configuration (showing jTip help):
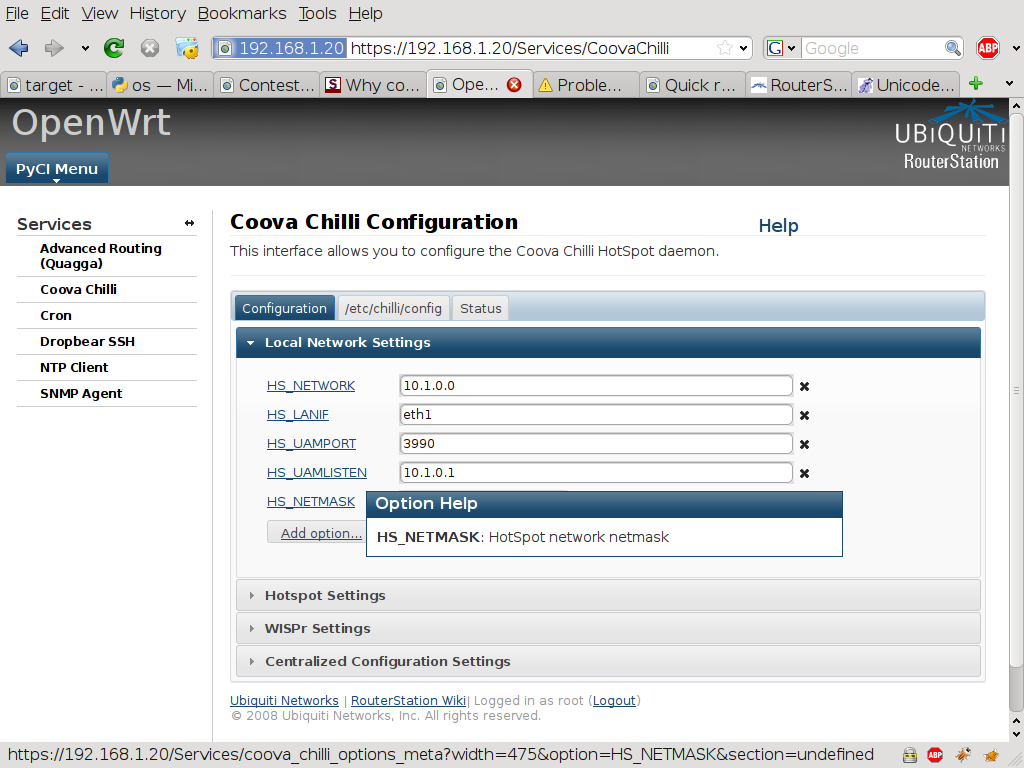
Note: I couldn’t get Coova Chilli to start up properly on OpenWRT. The ipkg is missing an init script. If it was running I’d have a screenshot showing how you can authorize or logout a user via the status tab.
PyCI Cron Interface:
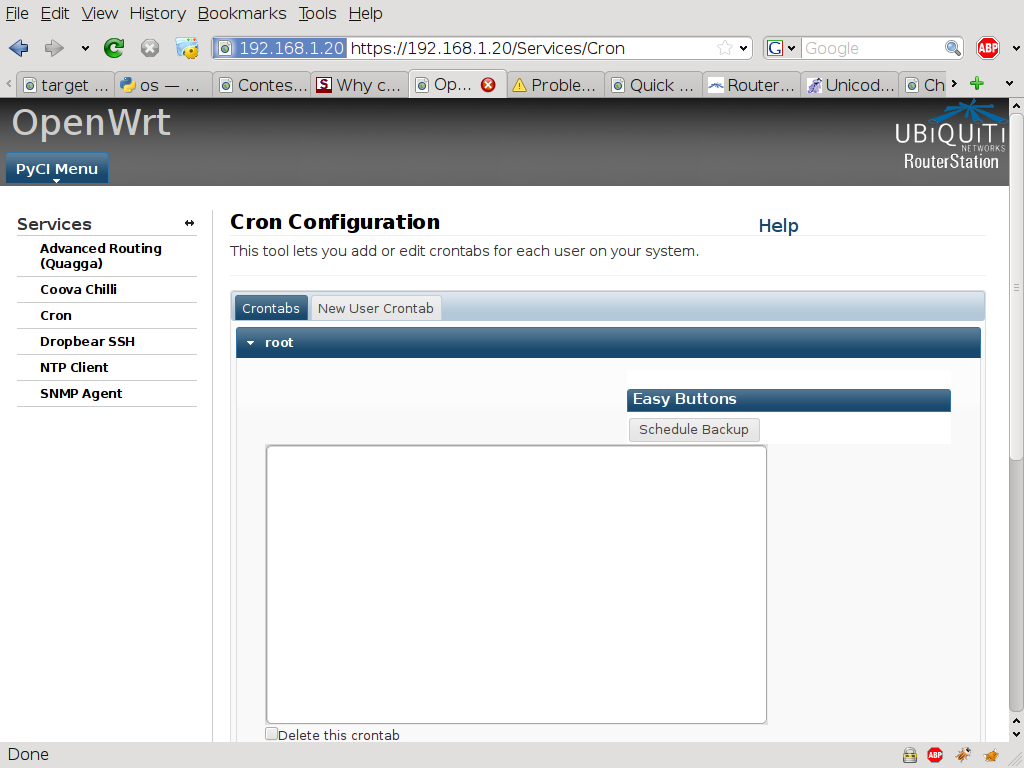
Pretty basic, I know... But that’s how I like it.
PyCI SSH Server (dropbear) Configuration: ________________________________________-

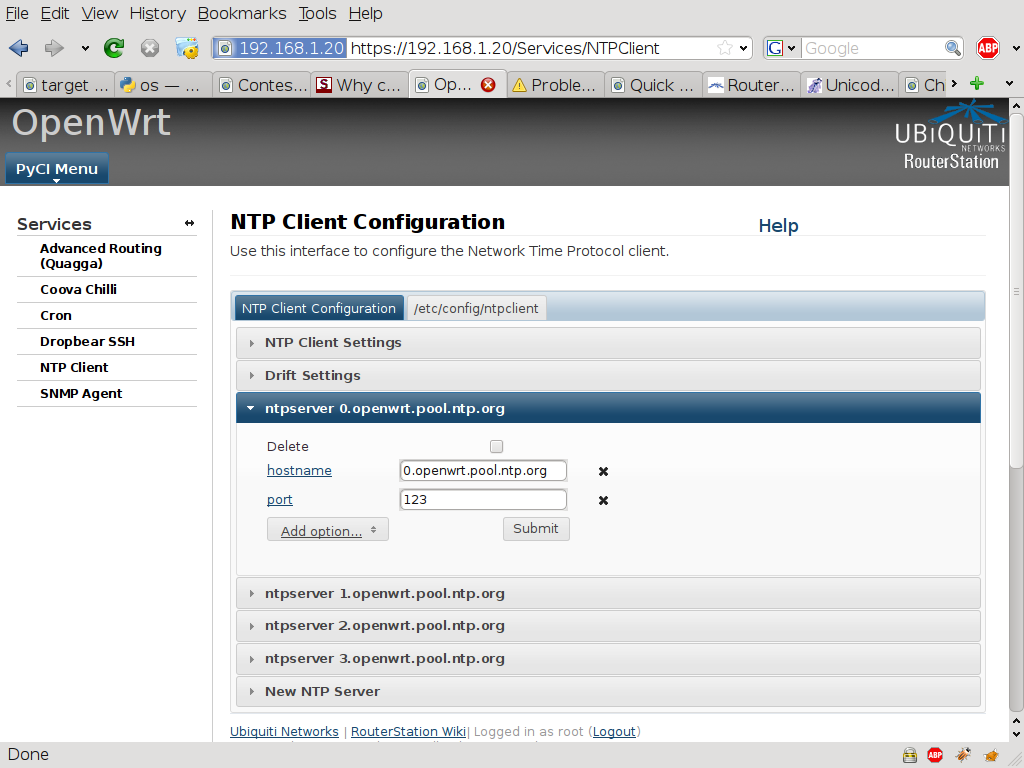
PyCI ntpclient Configuration: ____________________________-
PyCI snmpd Configuration: ________________________-
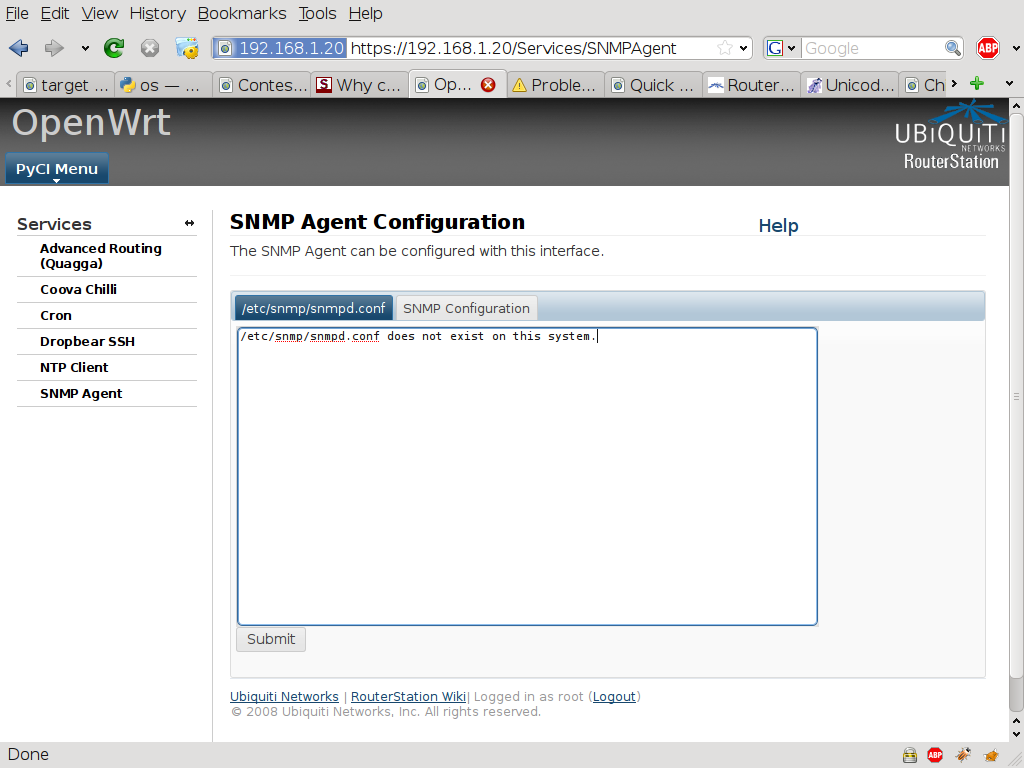
Note: I wrote this to configure the regular snmpd package but I later decided that mini_snmpd was probably better... But I never got around to adding the complete interface for that. Thus; we have an interface for a package that isn’t installed in my firmware (easily correctable later).
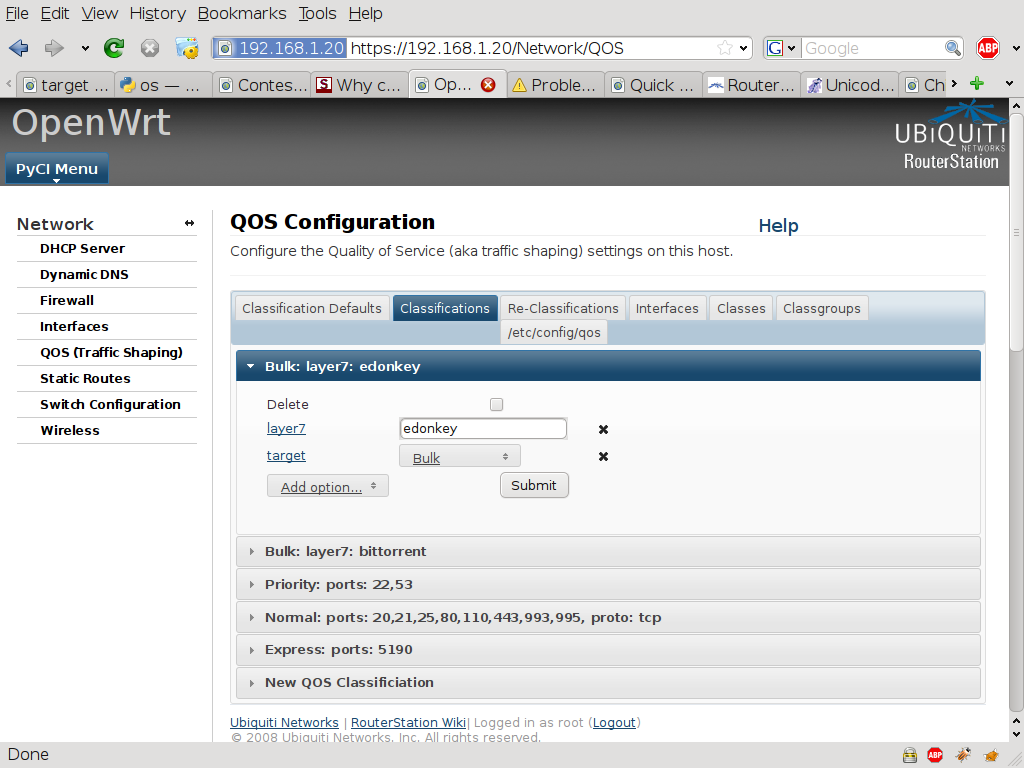
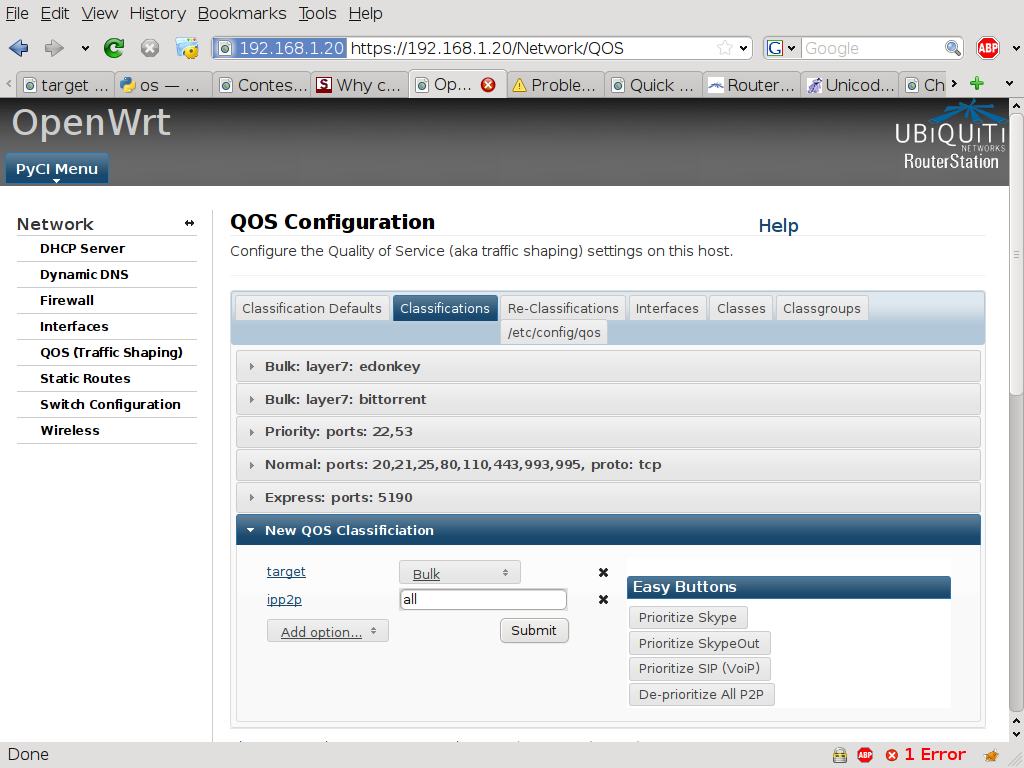
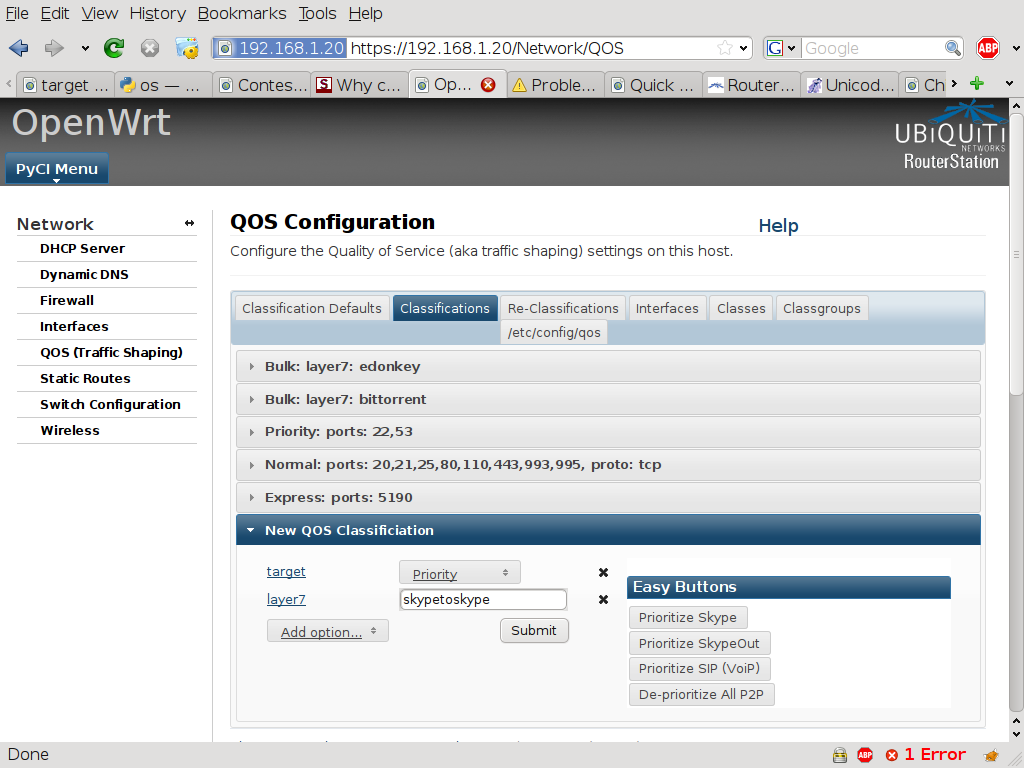
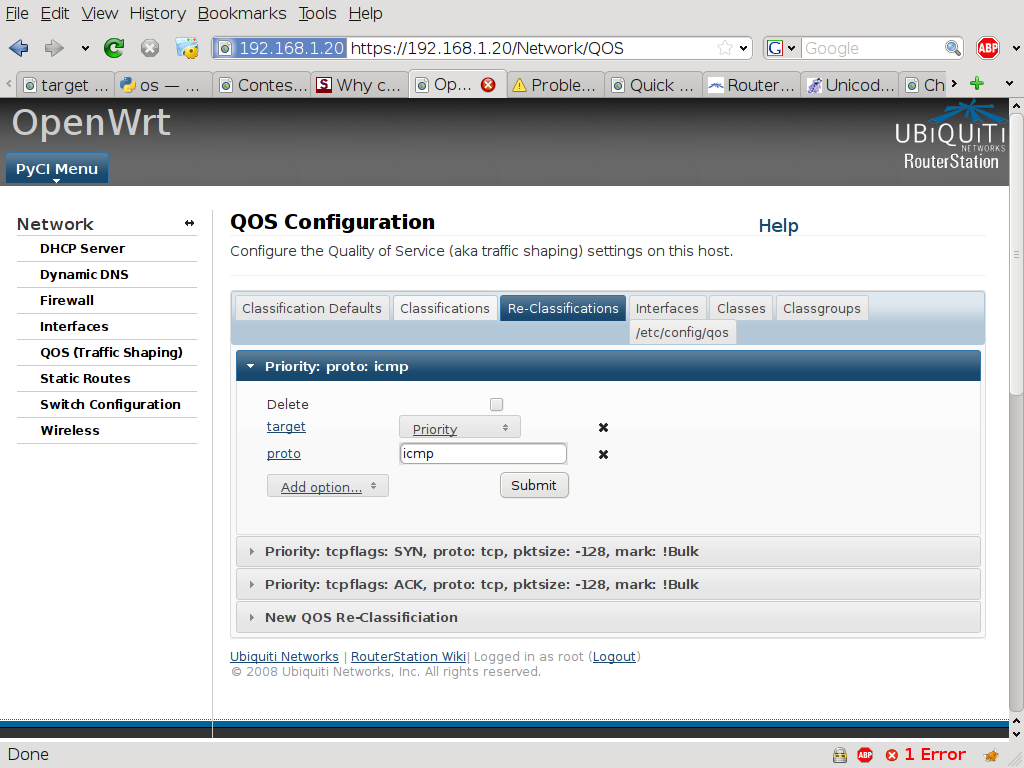
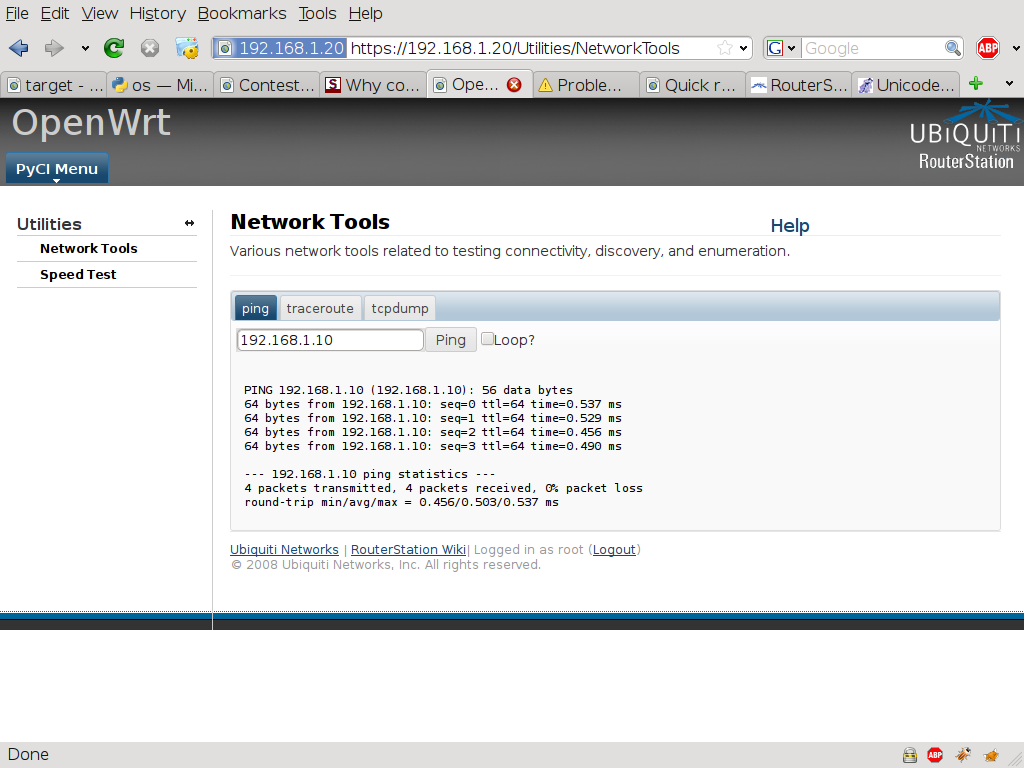
Network Plugin
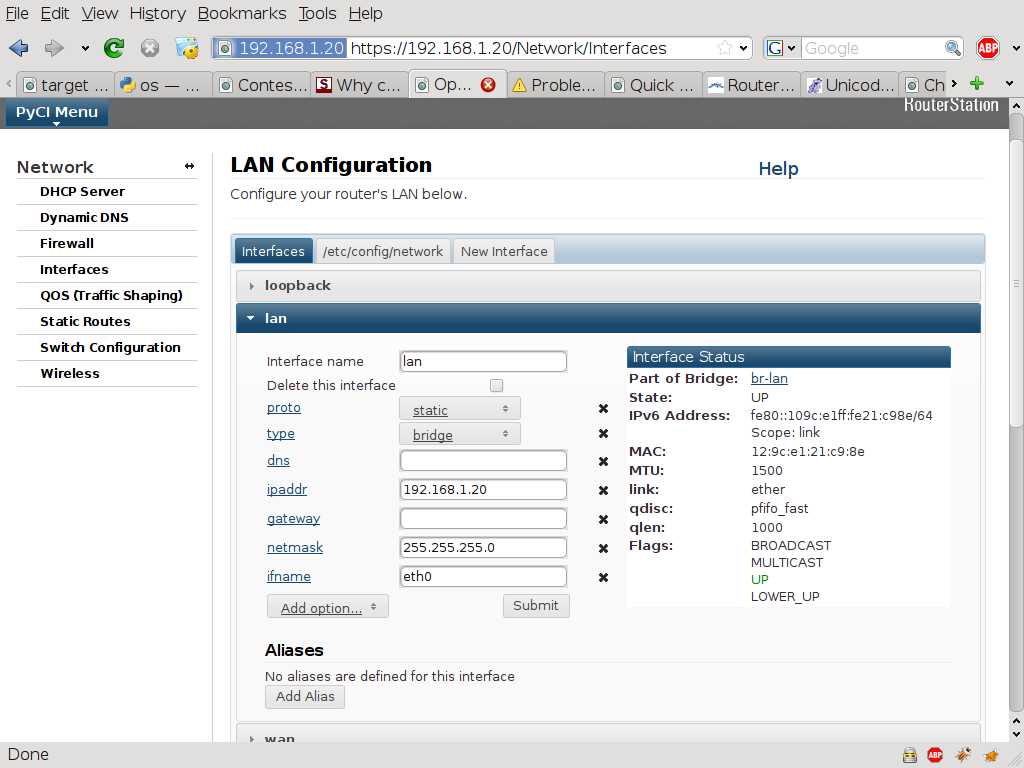
PyCI Interface Configuration:
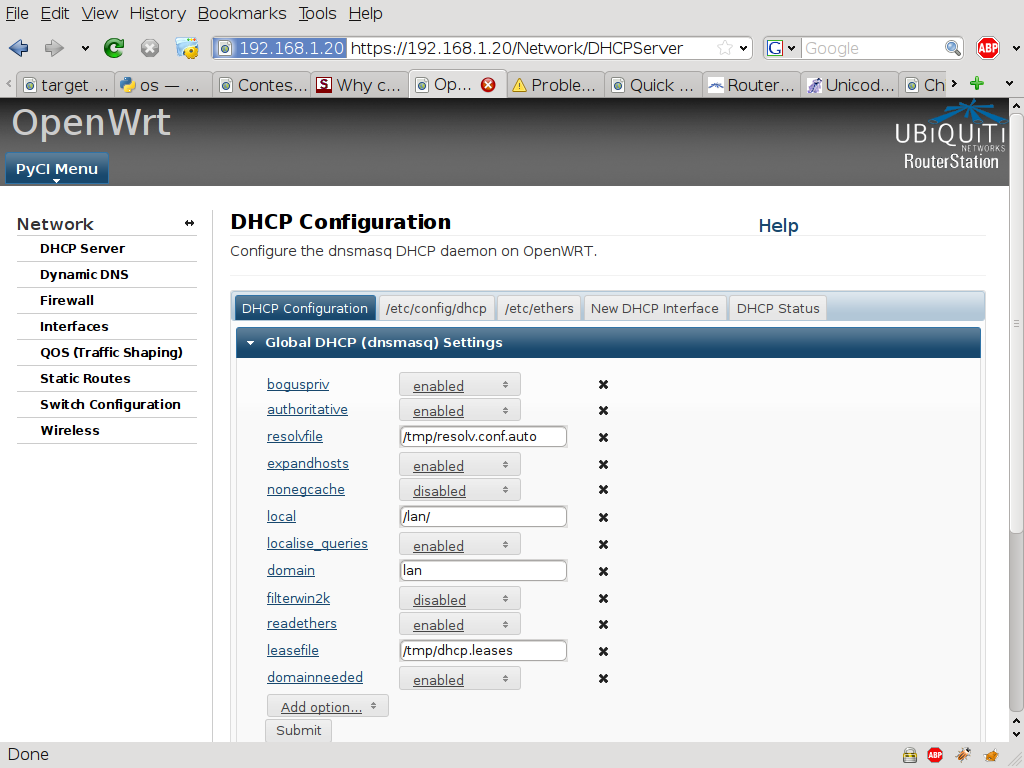
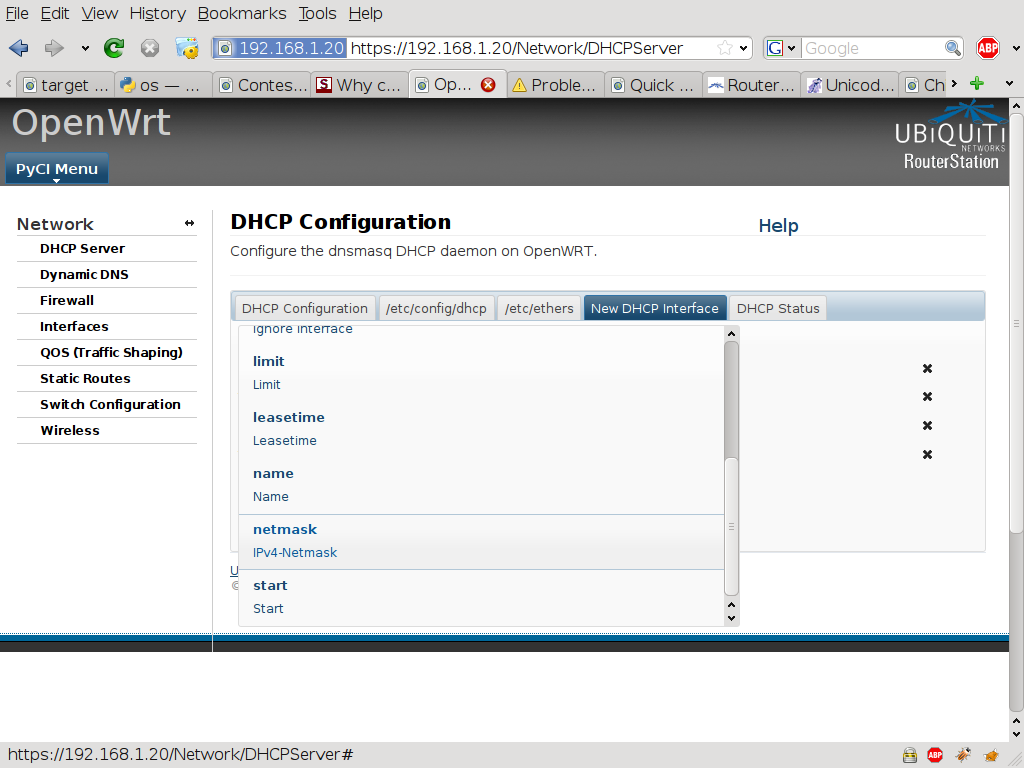
PyCI DHCP Server Configuration:
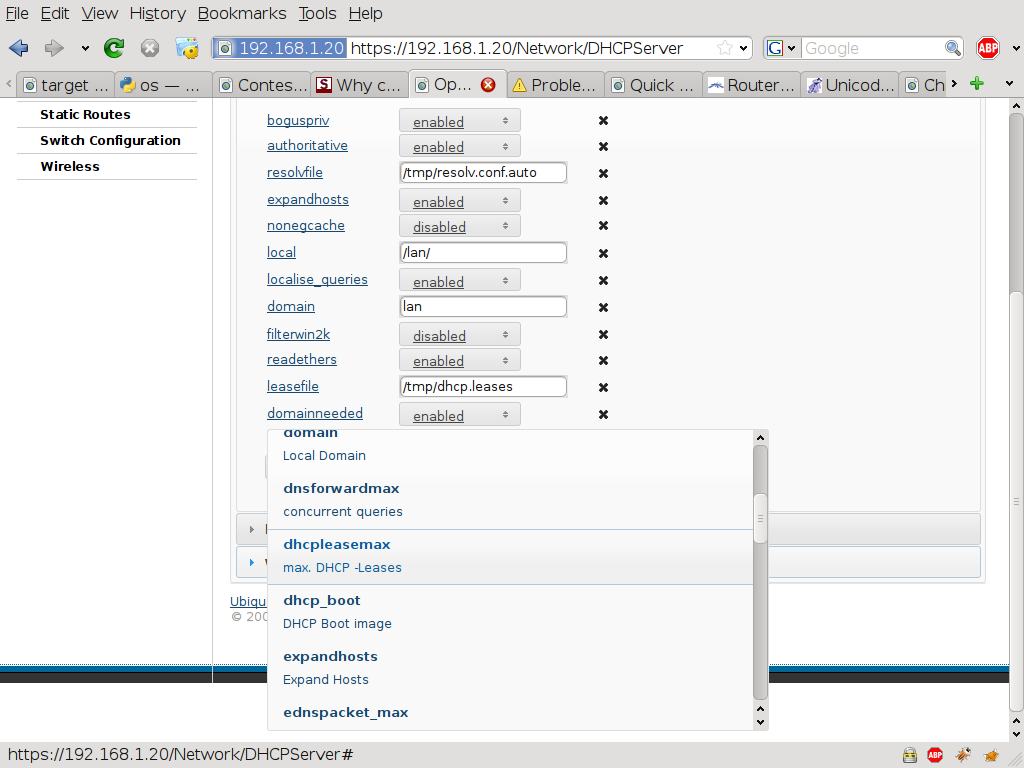
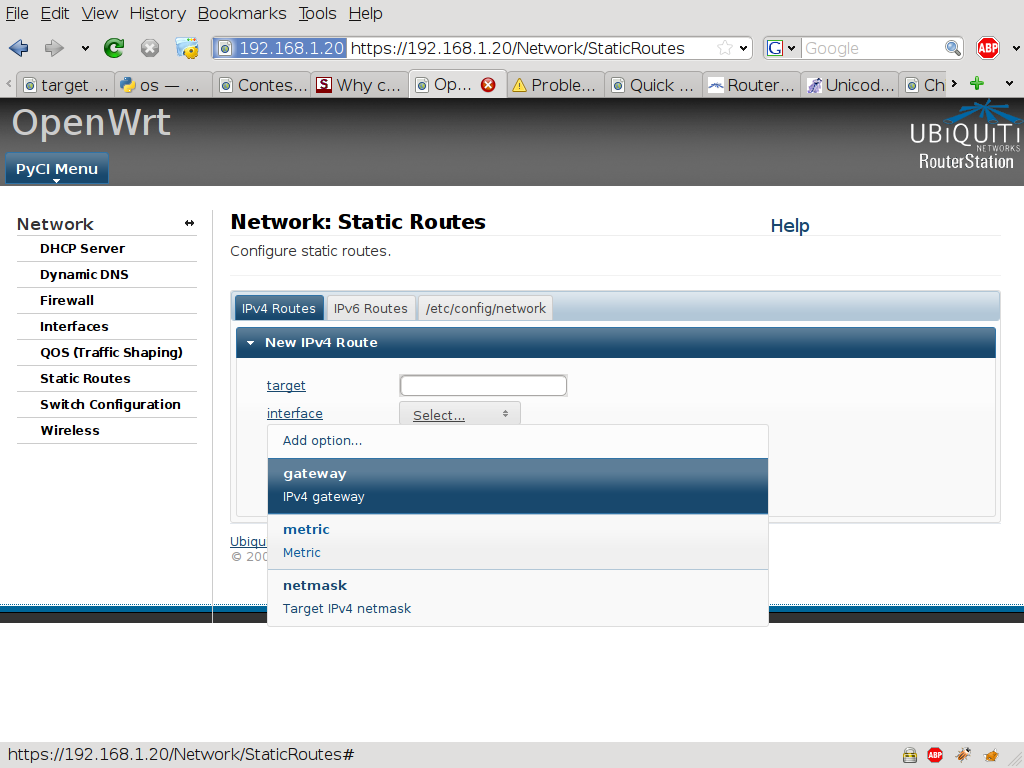
PyCI DHCP Server Configuration (showing select menu help):
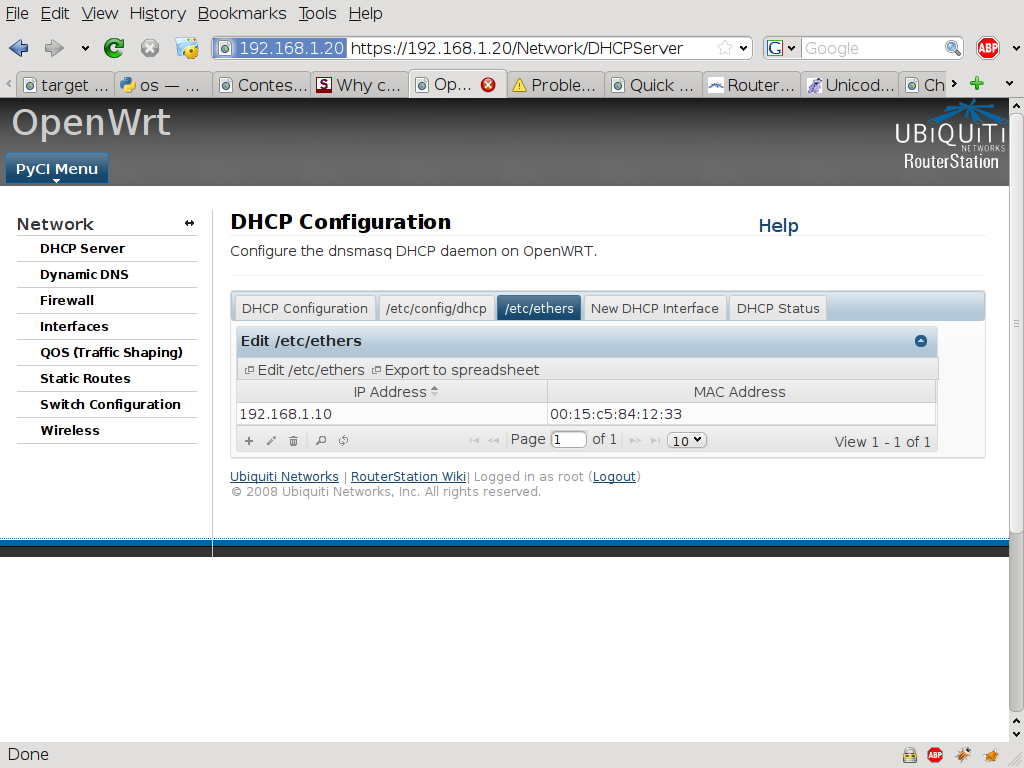
PyCI DHCP Server Configuration (/etc/ethers interface):
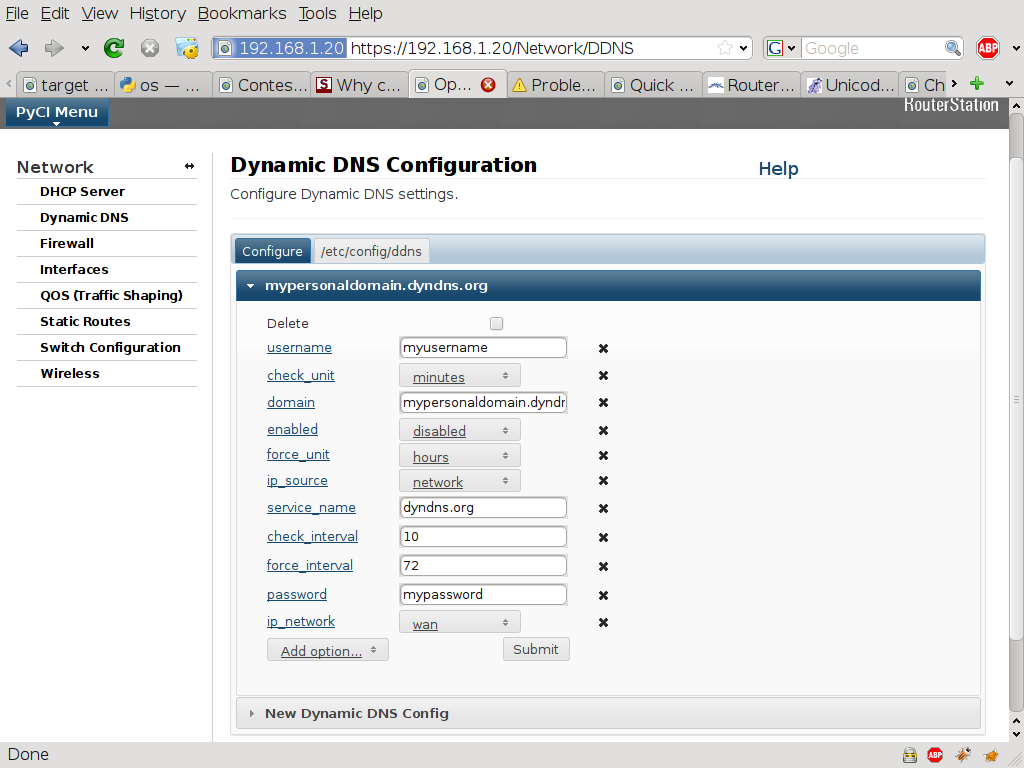
PyCI Dynamic DNS Configuration:
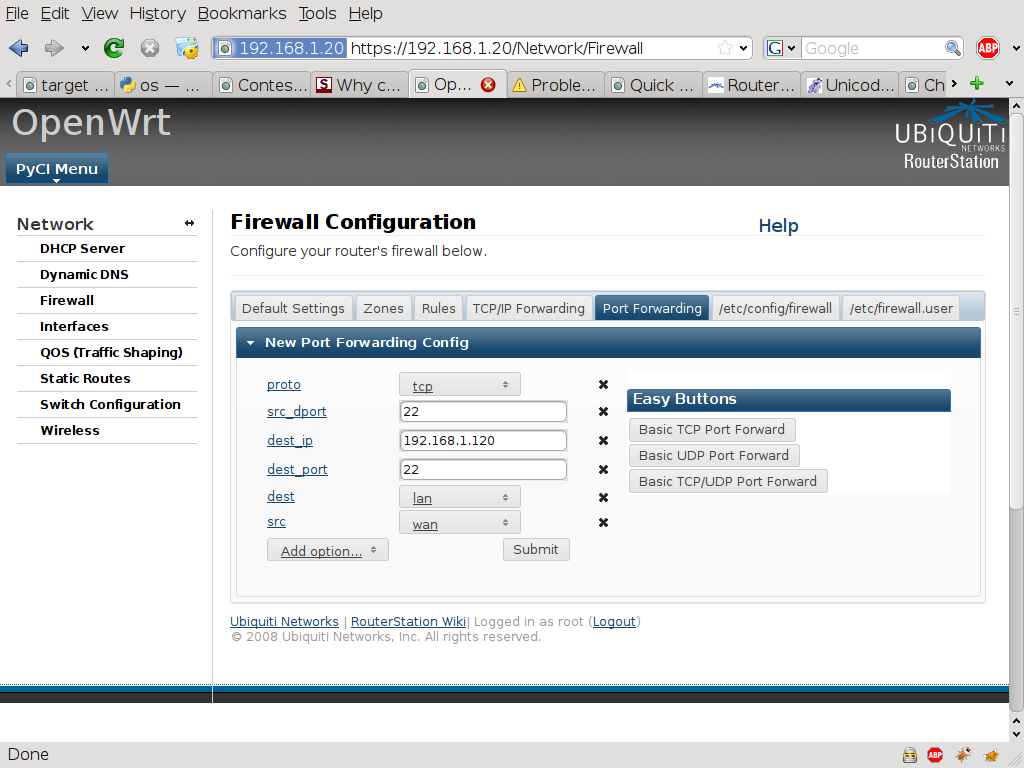
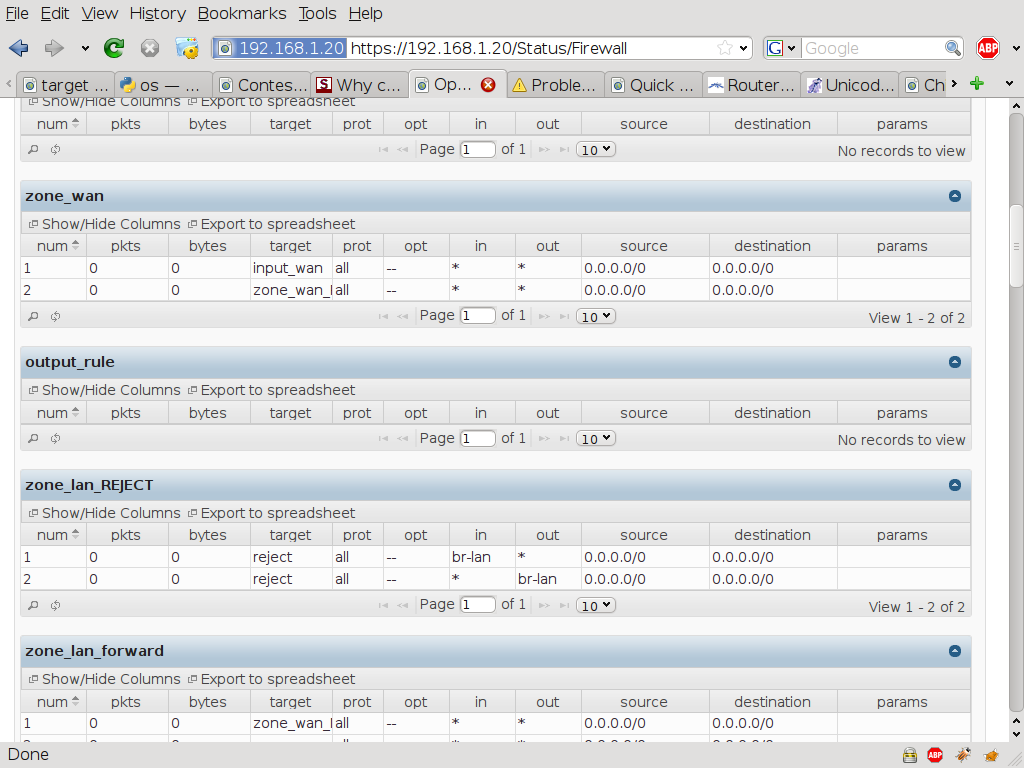
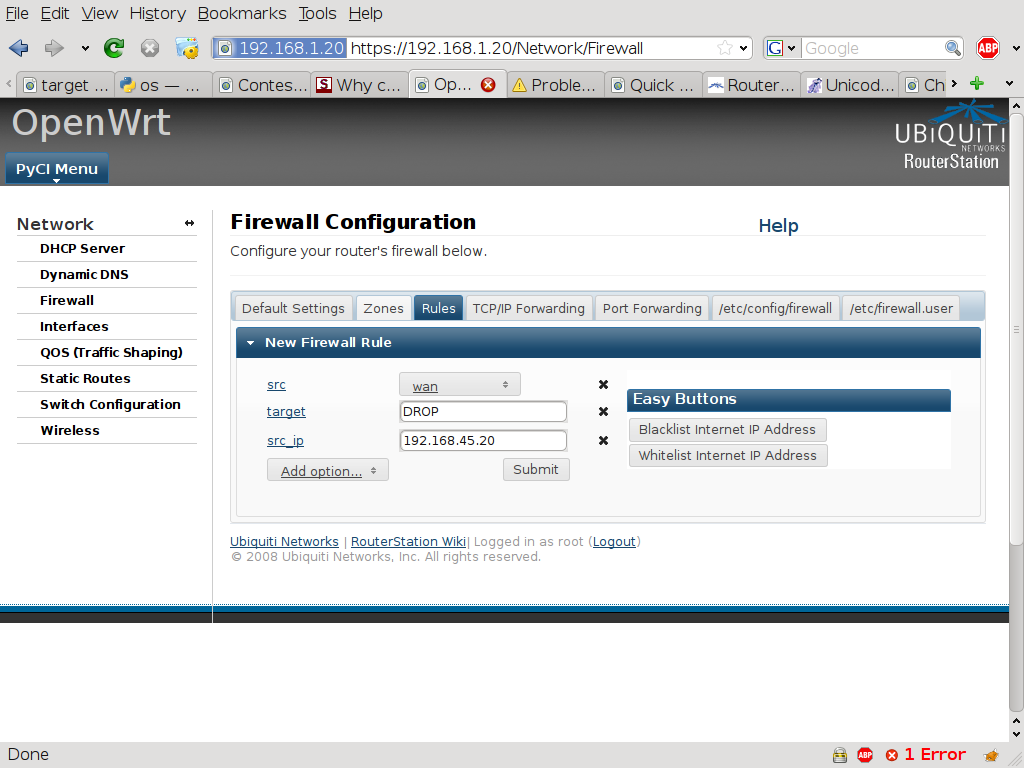
PyCI Firewall Configuration (adding a new rule via an Easy Button):
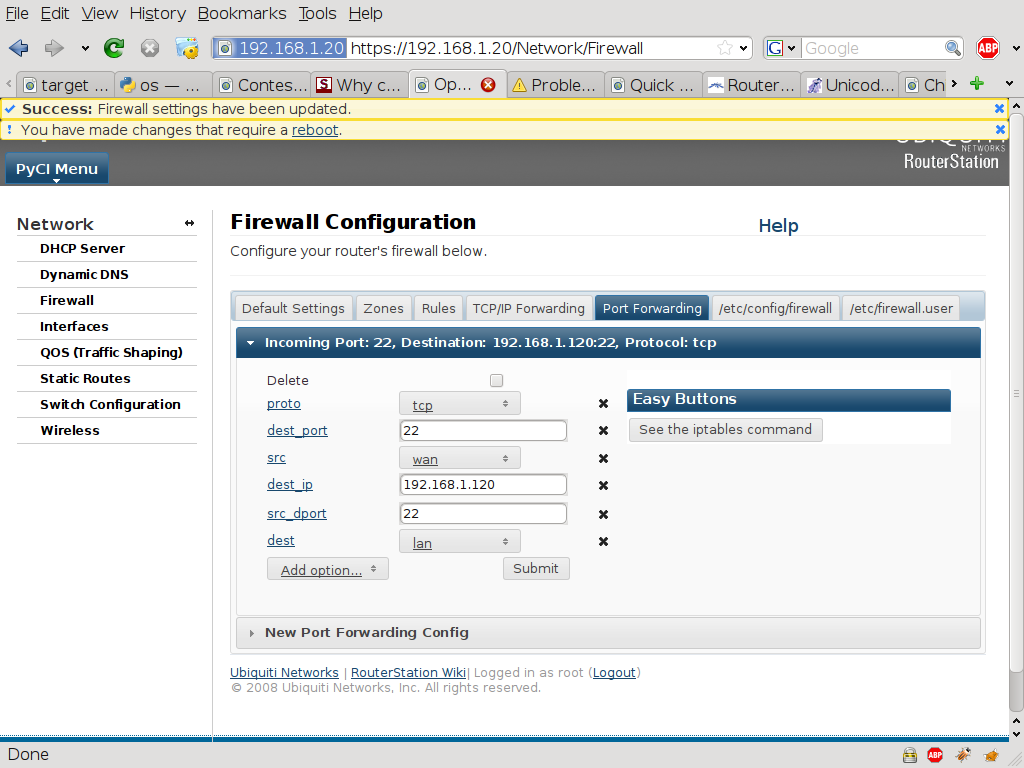
PyCI Firewall Configuration (editing the rule I just created):
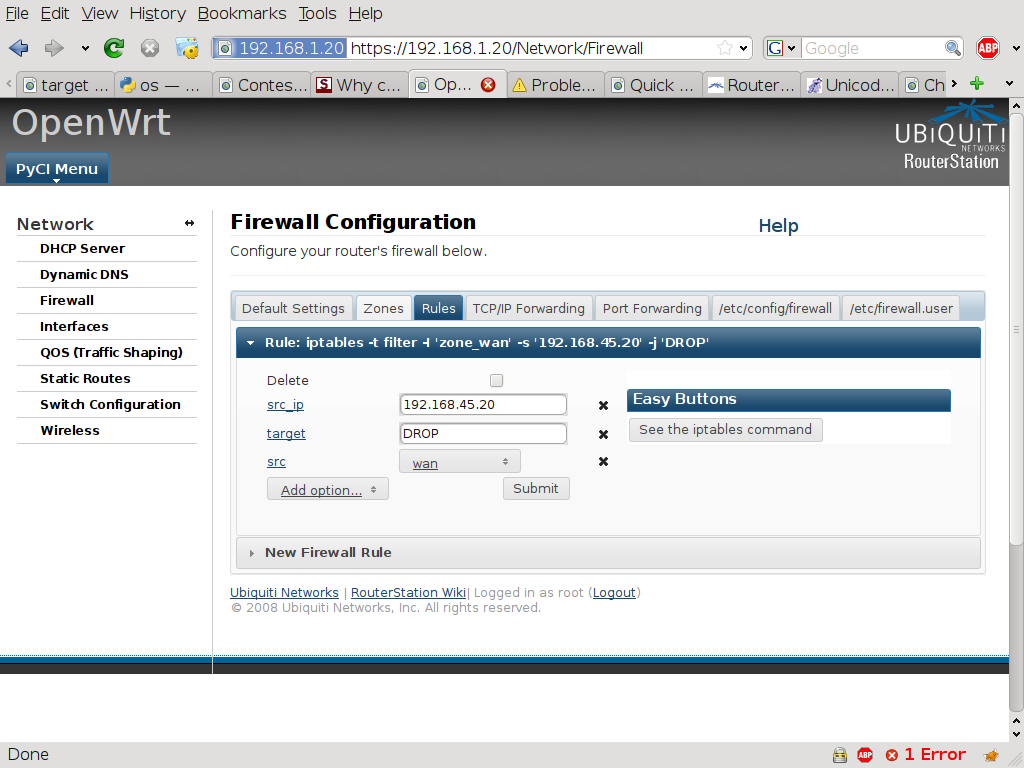
Note: The iptables command is clearly displayed. The user can also click on the “See the iptables command” button to get an easy copy/paste pop-up dialog.